 Seattle
 New-Construction Windows: A Different Job Than Replacement
When people say "new-construction windows," they're talking about how the window gets installed, not just the window itself. On a new build or a full addition, the wall is open down to the studs and the weather-resistive barrier (WRB) hasn't gone on yet. That gives us access to build a complete water-management system around the window opening — a sill pan, layered flashing tape, and a proper lap sequence with the house wrap — before siding ever goes up. It's a one-shot opportunity to get the drainage plane right, because once the siding is on, most of that work is buried for good.
This is different from a pocket or retrofit replacement, where an existing window is pulled and a new one is fit into an opening that already has finished siding and trim around it. Both jobs matter, but they call for different techniques, different materials, and honestly a different mindset. This page is specifically about doing new-construction windows right for a Capitol Hill build or addition.
What Capitol Hill's Climate Actually Asks of a Window Install
Capitol Hill sits inside Seattle's marine climate, which means the wall assembly on any new build here is going to see a long, wet fall-through-spring stretch of driving rain, frequent wind-driven storms off the Sound, and enough shade and moisture in places to grow moss on anything that holds water. Add in the salt-tinged marine air that reaches even inland King County neighborhoods on windy days, and you've got conditions that are unforgiving of shortcuts in window flashing.
None of that means Capitol Hill needs exotic materials. It means the basics — sill pan drainage, correctly lapped flashing, sealed but not over-sealed joints, and a WRB integration that actually sheds water downward and outward — have to be done correctly every single time, with no shortcuts. A window that's slightly out of level or a flashing lap installed backward won't show a problem on day one. It shows up two or three wet seasons later as a stain on interior drywall or rot in the sill framing, usually after the siding has already hidden the cause.
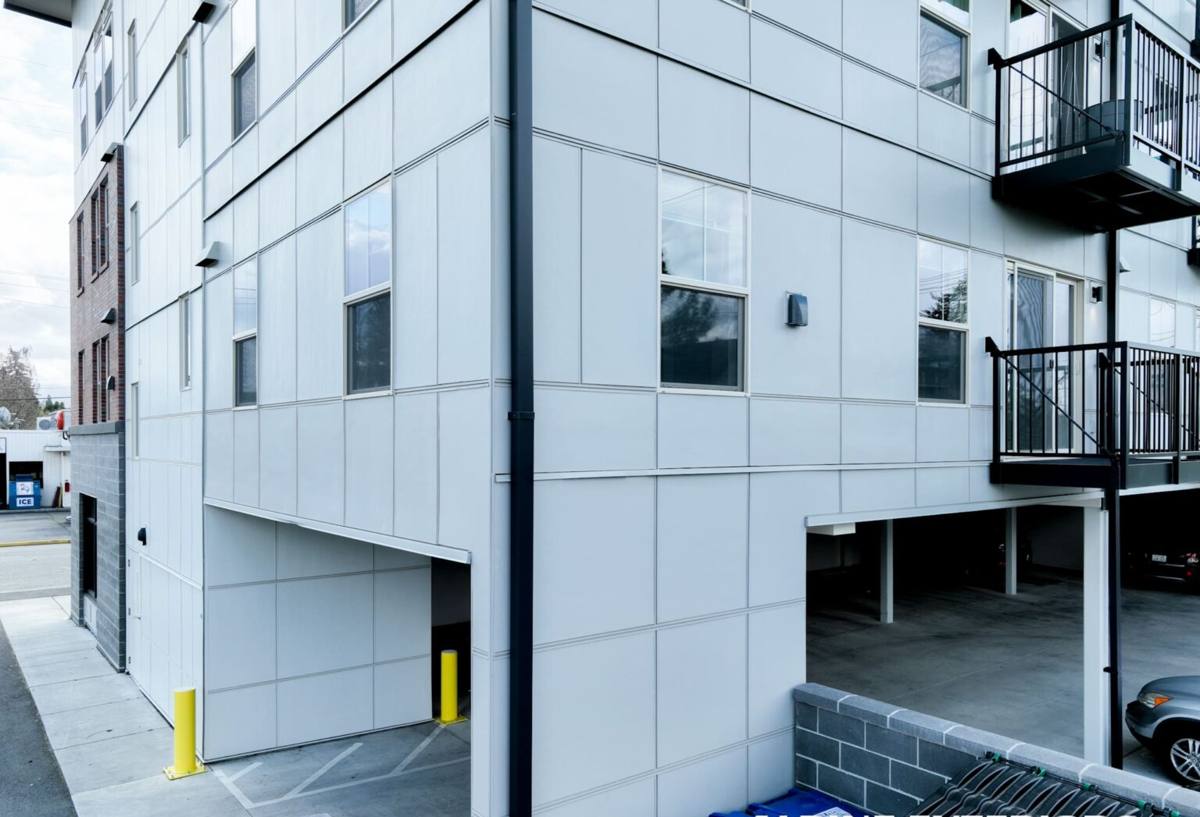
We also factor in Capitol Hill's mix of building stock and lot conditions — older single-family lots being redeveloped, narrow infill lots, and multi-unit new construction — each of which can affect wall orientation, roof overhang, and how much weather exposure a given window opening actually gets.
The Anatomy of a Correct New-Construction Window Install
There's a specific order of operations that makes a window opening watertight, and skipping or reversing any step creates a path for water to get behind the cladding. Here's the sequence we follow:
- Rough opening check. Confirm the opening is square, plumb, and sized correctly with the right shim clearance — before any flashing goes on.
- Sill pan installation. A sloped or flexible flashing pan goes at the bottom of the opening so any water that gets past the window has a built-in path back outside instead of sitting on the framing.
- Jamb flashing. Self-adhered flashing tape goes up both side jambs, lapping over the sill pan — never under it.
- Window set and fastened. The window is set into the opening, checked for level and square, and fastened through the nailing flange per the manufacturer's schedule.
- Head flashing. A head flashing strip goes over the top nailing flange, lapping over the jamb flashing on both sides.
- WRB integration. The house wrap is cut, folded into the opening, and lapped over the flashing in "shingle-style" order — each layer overlapping the one below it — so water always drains outward, never behind the barrier.
- Sealant, not caulk-as-a-cure-all. Backer rod and sealant go at the specific joints the window manufacturer calls for — not slathered everywhere, which can trap moisture instead of releasing it.
That lapping order is the whole game. Water only moves one way through a correctly built wall — down and out — and every layer has to respect that direction. A flashing tape installed even one course out of sequence defeats the entire system, no matter how good the window itself is.
Why This Matters More on New Construction Than Retrofits
On a retrofit, the existing wall already has a drainage plane in place (however old), and the new window has to work with what's there. On new construction, we're building that drainage plane from scratch. That's more work up front, but it also means there's no excuse for a weak point — every layer is new, accessible, and built to spec before it gets covered.
Choosing Windows for a New-Construction Opening
New-construction windows come with a nailing flange built into the frame, which is what gets fastened to the sheathing and integrated with the flashing described above. Beyond that, the material and glazing choice matters for how the window performs in Seattle's climate long-term — not just on install day.
| Material | How It Handles Our Climate | Maintenance |
|---|---|---|
| Vinyl | Won't rot or corrode from moisture exposure; performs well in the marine climate | Low — occasional cleaning, no repainting |
| Fiberglass | Very stable dimensionally, holds up well to wide temperature and moisture swings | Low — durable finish, minimal upkeep |
| Wood (clad exterior) | Warm interior look; exterior cladding protects the wood from driving rain if installed and sealed correctly | Moderate — exterior cladding needs periodic inspection at joints |
| Aluminum | Strong and slim-profile, but conducts cold and can condense more in our damp winters without a thermal break | Low, but check for a thermal break spec before choosing |
We don't push one material as universally "best" — it depends on the look you want, the budget, and how the window is oriented on the building. What we do insist on is correct glazing for a marine climate: dual-pane at minimum, with a low-E coating and gas fill appropriate to Seattle's temperature range, so the window earns its keep on energy performance and interior comfort, not just curb appeal.
Our Process, Start to Finish
1. Plan Review and Rough-In Coordination
We review window schedules and rough opening sizes against the actual framing before drywall or siding prep begins, so any mismatch gets caught while it's still cheap to fix.
2. Pre-Install Walkthrough
We check each opening for square, plumb, and level, and confirm the WRB and flashing materials on site match spec before we start.
3. Flashing and Set
We install sill pans, jamb flashing, the window itself, and head flashing in the sequence above — one opening at a time, checked as we go rather than production-lined through the whole house.
4. WRB Lap and Seal
We integrate the house wrap with the flashing system and apply sealant only where the manufacturer specifies, so the wall can still release incidental moisture instead of trapping it.
5. Documentation and Walkthrough
Before siding closes everything in, we walk the openings with whoever's overseeing the build — you, your GC, or your architect — so there's a clear record of what's behind the wall.
Mistakes We See on Capitol Hill Jobs
Most window callbacks we get asked to fix trace back to a handful of recurring errors:
- Sill pan skipped or installed flat instead of sloped to drain
- Flashing tape lapped in the wrong order, sending water behind the WRB instead of over it
- Nailing flange fastened through gaps or missed studs, leaving the window loose over time
- Sealant used as a substitute for proper flashing instead of a supplement to it
- Window installed out of square, which stresses the frame and can cause operable sashes to bind within a year or two
Every one of these is avoidable with a careful, sequenced install — none of them require exotic fixes, just doing the ordinary steps correctly and in order.
What Drives Cost on a New-Construction Window Job
| Factor | Why It Matters |
|---|---|
| Number and size of openings | More or larger openings mean more flashing, labor, and window units |
| Window material and glazing package | Vinyl, fiberglass, and clad-wood carry different unit costs; upgraded low-E glazing adds a line item |
| Wall height and access | Second-story and stair-adjacent openings on narrow infill lots often need staging or lift access |
| Custom shapes or sizes | Non-standard openings (arched, oversized, or odd angles) usually mean special-order units and longer lead times |
| Coordination with siding trades | Jobs where we're scheduled tightly with siding crews move faster than ones with gaps in the build sequence |
We'll walk your specific plan set and give you a real number rather than a rough per-window estimate that doesn't account for your actual openings.
Questions Worth Asking Before You Hire
- Do you install a sloped sill pan on every opening, or only when requested?
- What's your flashing lap sequence, and can you walk me through it?
- Do you work from the window manufacturer's written installation instructions, or a generic method?
- Will I get a walkthrough of the openings before siding closes them in?
- Have you installed new-construction windows on other Capitol Hill or Seattle infill projects recently?
A contractor who can answer these clearly and specifically — not just "yes, we do it right" — is one who actually has a process, not just a crew with caulk guns.
Why Local Experience on Capitol Hill Matters
A crew that regularly works Capitol Hill and the rest of Seattle knows the practical realities of the neighborhood: narrow infill lots with tight staging room, older adjacent properties that constrain access, and King County's inspection and permitting expectations for new builds and additions. That familiarity means fewer surprises mid-job and a flashing approach that's already proven itself through a full Seattle wet season, not just tested on paper.
It also means we're not guessing at how exposed a given wall or opening is to driving rain or shaded, moss-prone conditions — we've seen how buildings in this neighborhood actually weather over time, and we build the window system to match.
If you're framing up a new build or planning an addition on Capitol Hill, we're glad to walk your plans and give you a straightforward, no-pressure estimate for the window package — just fill out the form below.