 Seattle
 Building new in Beacon Hill means you get one real chance to install windows correctly. Once siding, trim, and interior finishes go up, the flashing and seals behind them are buried for the life of the house. Get it right during framing and you have decades of trouble-free performance. Get it wrong, and the first sign of trouble is often a stain on drywall years later, by which point the damage has already spread into the wall cavity. This page is about doing new-construction window installation the right way, the first time, for homes in this part of Seattle.
Why New-Construction Windows Are a Different Job Than Replacement
Replacement window work happens inside an existing wall — the old unit comes out, a new one goes in, and the surrounding siding and trim are usually left in place or patched. New construction is the opposite: the wall isn't closed up yet. That's an advantage, because we can integrate the window with the weather-resistive barrier (WRB) and flashing exactly the way the window manufacturer and code intend, instead of working around finishes that are already there.
It's also less forgiving. On a replacement, a mediocre seal might get masked by existing trim or caulk. On new construction, every layer — sill pan, flashing tape, WRB lap, siding, trim — is installed in sequence, and each layer depends on the one before it being done correctly. There's no hiding a shortcut here; it either sheds water the way it's supposed to or it doesn't.
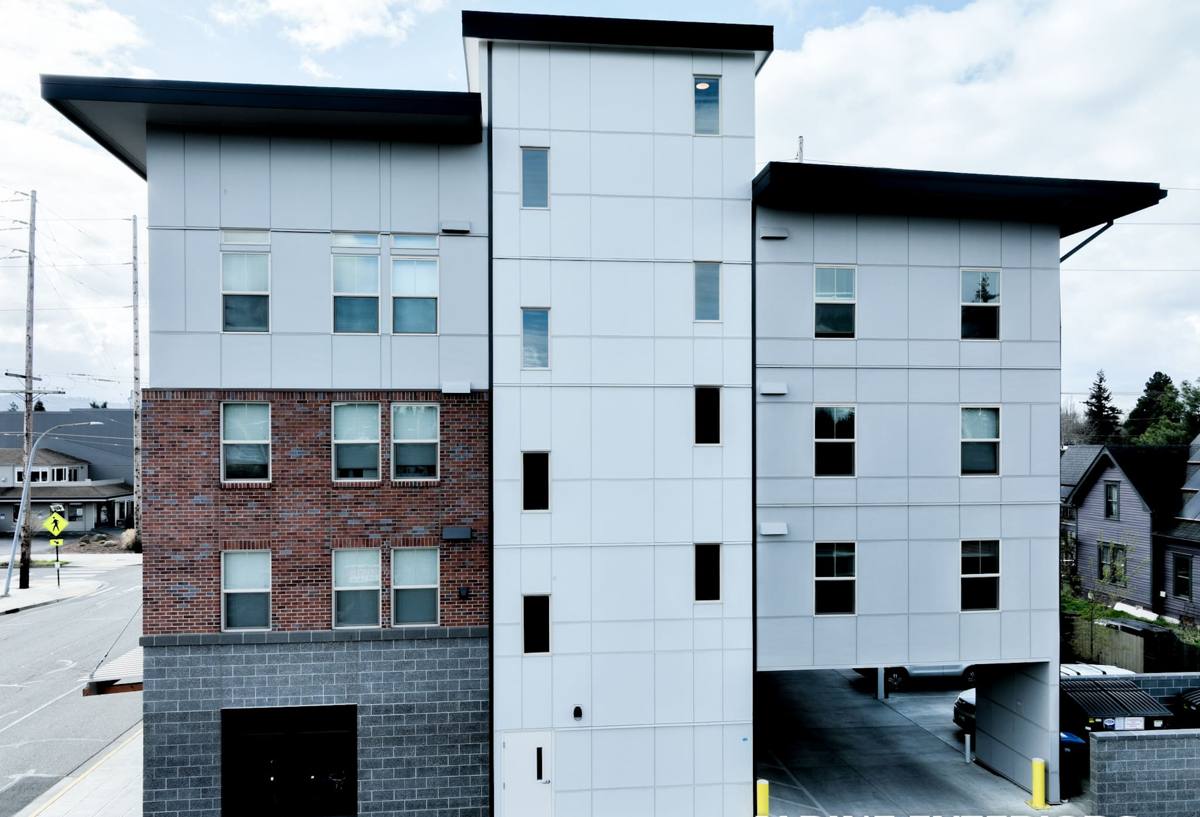
What Beacon Hill's Climate Actually Demands from a Window Install
Seattle and King County sit in a marine climate that stays damp for most of the year, and that shows up in a few specific ways that matter for new construction. Rain here isn't always straight down — wind-driven storms push water sideways and upward under trim, lips, and poorly lapped flashing that would stay dry in a calmer climate. Homes on more exposed or elevated lots, which describes a fair share of Beacon Hill, take that wind-driven rain more directly than a home tucked into a sheltered low spot.
There's also a salt-tinged component to the air moving in off Puget Sound, which slowly works on exposed fasteners, hardware, and unprotected wood over time. And the long stretch of gray, wet weather from fall through spring supports a persistent moss and algae season — north-facing and shaded walls stay damp longer, which affects how quickly certain trim and cladding materials weather if the window-to-wall transition isn't properly detailed.
None of this means a window itself has to be exotic. It means the installation — the sill pan, the flashing laps, the sealant placement — has to be built assuming sustained moisture exposure, not occasional light rain.
The Anatomy of a Correct New-Construction Window Install
Rough Opening and Sill Pan
Every install starts with checking the rough opening for square, level, and correct size — not just trusting the framing plans. We build a sloped sill pan at the bottom of the opening so any water that does get past the window sheds back outward rather than sitting on the sill or draining into the wall cavity. This is one of the most skipped steps on rushed jobs, and it's one of the most important.
Flashing Integration with the Weather-Resistive Barrier
The window flashing has to be woven into the WRB in the correct shingle-lap order — bottom first, then sides, then top — so water draining down the wall is always directed over the layer below it, never trapped behind it. This sequencing matters more in a climate with sustained wind-driven rain than it does in a drier region, because the wall assembly here spends more of the year wet.
Nailing Fin Attachment
Flush-fin and nailing-fin windows have to be fastened per the manufacturer's schedule — correct fastener spacing and type — because under-fastening lets the frame flex in wind, which stresses seals over time, while over-driving fasteners can bow the frame and cause air and water infiltration around the sash.
Sealant Placement, Not Sealant Substitution
Sealant belongs at specific points in the assembly, not as a substitute for missing flashing. A bead of caulk around the whole perimeter of a window that lacks proper flashing will fail — caulk is a backup layer, not the primary water management system.
Choosing the Right Window for a New Build
Frame material affects how a window performs over years of Seattle-area weather, and it's worth deciding deliberately rather than defaulting to whatever's cheapest on a builder's spec sheet.
| Frame Material | Moisture Tolerance | Maintenance | Typical Cost Tier |
|---|---|---|---|
| Vinyl | Good — won't rot, some expansion/contraction with temperature swings | Low — occasional cleaning | Entry to mid |
| Fiberglass | Very good — dimensionally stable, holds paint well if desired | Low to moderate | Mid to upper |
| Wood-Clad | Depends heavily on cladding and installation quality at joints | Higher — exposed wood elements need periodic attention | Upper |
Beyond material, Washington's energy code sets minimum performance requirements for new construction — U-factor for heat loss and, in some cases, solar heat gain coefficient (SHGC) depending on orientation and glazing area. Your window supplier or the project's energy code compliance path will specify the numbers that apply to your specific build; we install to whatever spec the plans call for and can flag when a proposed window doesn't meet it before it's ordered.
Our Process, Start to Finish
1. Framing and Rough Opening Review
Before any window arrives on site, we walk the rough openings against the window schedule and check for square, plumb, and correct sizing. Catching a framing error here is far cheaper than discovering it after a window is on order.
2. Sill Pan and Flashing Prep
We build the sill pan, integrate the WRB, and prep the opening in the correct order so the window goes into an opening that's already set up to shed water — not one where flashing gets added as an afterthought.
3. Install and Fasten
The window goes in plumb, level, and square, fastened to the manufacturer's schedule, with shims placed to avoid frame distortion.
4. Flashing Completion and Sealant
Top flashing, WRB lap, and sealant go in per manufacturer and code detailing — then we photograph the assembly before siding covers it, so there's a record of what's behind the finish.
5. Final Check
Operation, weatherstripping seat, and hardware function get checked once the opening is finished out, not just at rough install.
Coordinating With Your Builder or General Contractor
On a new build, window installation sits between two other trades — framing before it, siding and trim after it — and problems creep in when those handoffs aren't managed. We work directly with builders and GCs on scheduling so the WRB and flashing are ready when we show up, and so siding doesn't get installed before our flashing work is signed off. We also keep the workmanship warranty on the installation separate and clear from the manufacturer's warranty on the glass unit itself, so if something ever needs attention, there's no confusion about which party is responsible for what.
Common New-Construction Mistakes We Watch For
- Rough openings cut oversized "to be safe," leaving gaps that are hard to seal correctly
- Sill pans skipped or improperly sloped, so water sits instead of draining out
- Flashing installed in the wrong shingle-lap order, directing water behind the WRB instead of over it
- Perimeter caulk used as a substitute for missing or incomplete flashing
- Fasteners over-driven or under-spaced relative to the manufacturer's schedule
- Siding installed before flashing details are inspected and signed off
- Window U-factor or SHGC on the invoice not actually matching what the energy code path requires
Why a Crew That Already Works Beacon Hill Matters
Lot exposure varies a lot across Seattle's hills — how much wind-driven rain a wall actually sees depends on elevation, orientation, and what's around it, and Beacon Hill has enough varied topography that a one-size approach to flashing and sealing doesn't always hold up. A crew that's installed windows on new builds across King County knows which details to be stricter about on a more exposed elevation versus a sheltered one, and knows the inspection expectations that come with Seattle's building permit process for new construction. That familiarity shows up in fewer surprises during inspection and fewer callbacks after the house is finished.
If you're planning a new build or addition in Beacon Hill and want windows installed correctly from the framing stage forward, we're glad to walk the plans with you and give you a straightforward, no-pressure estimate — just fill out the form below.