 Seattle
 Window Installation Built for Beacon Hill's Weather
Beacon Hill sits on one of Seattle's highest ridgelines, which means the homes up here catch weather that lower, more sheltered neighborhoods don't feel as hard. Wind off the water pushes rain sideways into west- and south-facing walls, salt air drifts in from Elliott Bay and Puget Sound, and the long gray stretch of fall through spring keeps everything damp long enough for moss and algae to take hold on anything that isn't shedding water properly. For windows, that combination is unforgiving. A frame or installation that would hold up fine in a drier climate can fail here in a fraction of the time.
Window installation in Beacon Hill isn't just about picking a product you like the look of. It's about matching the window, the flashing details, and the installation method to a hillside microclimate that punishes shortcuts. That's the lens we bring to every job in this neighborhood.
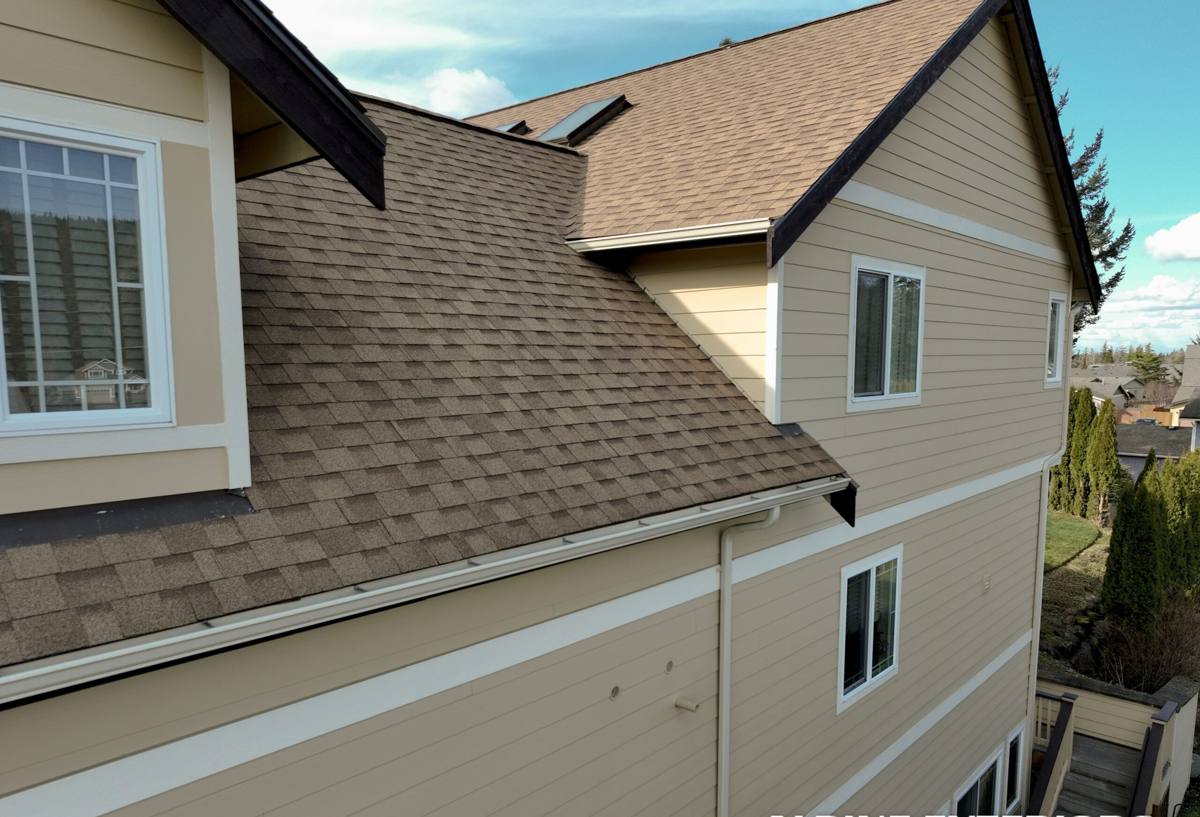
What Beacon Hill's Climate Actually Does to Windows
Driving rain and wind-driven wetting
Because Beacon Hill is elevated and relatively exposed compared to neighborhoods tucked into valleys, wind-driven rain hits vertical wall surfaces directly instead of just falling straight down. That means water gets forced sideways and upward into gaps around a window opening that would stay dry in calmer conditions. If the flashing and sealant details aren't done correctly, that water finds its way behind the siding and into the wall cavity — often silently, for years, before anyone notices rot or soft drywall.
Salt air and metal fatigue
Proximity to Puget Sound means a steady low-level exposure to salt-laden air. Over time this accelerates corrosion on lesser-quality window hardware, fasteners, and aluminum components that aren't rated for coastal-adjacent conditions. It's rarely dramatic — more a slow degradation of locks, hinges, and cranks that makes windows harder to operate and seal properly.
Moss, algae, and prolonged moisture
King County's long wet season keeps horizontal surfaces — sills, sash tracks, and anywhere water can pool — damp for extended stretches. That moisture supports moss and algae growth, which holds even more water against wood and finish surfaces and accelerates decay in anything that isn't designed to drain and dry quickly.
What a Correct Installation Involves
A window is only as good as the opening it's installed into. Most window failures we see in this neighborhood aren't product failures — they're installation failures. A correct job includes:
- Removing the old window and inspecting the rough opening for existing rot, soft framing, or prior water intrusion before anything new goes in
- Installing a proper weather-resistive barrier and window flashing tape, integrated correctly with the existing wall's water management system — not just caulked over
- Sloping the sill pan so any water that gets past the sash drains outward, not into the wall
- Setting the window plumb, level, and square, then securing it per manufacturer fastening specs — not just "close enough"
- Insulating the gap between the window frame and rough opening without overpacking, which can bow the frame and cause operational issues
- Sealing the interior and exterior correctly, with the right sealant for the substrate and exposure
- Verifying the sash operates smoothly and locks seat fully before calling the job done
Skip any one of these steps and you can end up with a window that looks fine from the curb but is quietly letting water into the wall. On an exposed hillside like Beacon Hill, that's not a theoretical risk — it's the most common way we see window jobs go wrong.
Signs It's Time to Replace
Homeowners often wait longer than they should because window problems don't always look serious from the inside. Some signs worth acting on:
- Visible condensation between panes on a double- or triple-pane window (a sign the seal has failed)
- Drafts you can feel even with the window fully closed and locked
- Difficulty opening, closing, or locking that's gotten worse over a year or two
- Soft or discolored trim, sill, or drywall near the window
- Visible moss, black staining, or persistent damp on the exterior sill or casing
- Rising energy bills without any other explanation
Any one of these on its own might be minor. Two or three together, especially on a west- or south-facing wall, usually means it's time for a proper assessment rather than another round of caulk.
Material Options and How They Hold Up Locally
There's no single "best" window material — it depends on the wall, the exposure, and the homeowner's priorities. Here's how the common options compare for a home in this climate:
| Material | Moisture Performance | Maintenance | Typical Fit for Beacon Hill |
|---|---|---|---|
| Vinyl | Good — won't rot, handles wet cycles well | Low | Strong value option for most exposures, including salt-air adjacent walls |
| Fiberglass | Excellent — very stable in wet/dry cycling, resists warping | Low | Well suited to the most exposed, wind-driven-rain walls |
| Wood (uncladded) | Requires diligent upkeep to avoid rot | High | Better suited to sheltered elevations than exposed hilltop walls |
| Wood-clad (aluminum or fiberglass exterior) | Good if cladding and flashing details are done right | Medium | A middle-ground option for homeowners who want a wood interior look |
| Aluminum (uninsulated) | Poor thermal performance, prone to condensation | Medium | We generally steer homeowners away from this on exposed, damp walls |
We don't push one brand or material on every job. We look at which elevation the window sits on, how much direct weather it takes, and what the homeowner wants to maintain over the next 15-20 years, then make a recommendation based on that — not on what's easiest for us to install.
Cost Factors Worth Understanding
Every job is different, but the price of a window installation in this area is generally driven by a handful of factors:
| Factor | Why It Matters |
|---|---|
| Window material and glass package | Fiberglass and multi-pane low-E glass cost more upfront but perform better against driving rain and drafts |
| Opening condition | Rot or water damage found during removal adds repair work before the new window can go in |
| Number and size of openings | Larger or custom-sized windows cost more than standard stock sizes |
| Access and elevation | Second-story or hard-to-reach windows on a sloped Beacon Hill lot can require more setup time |
| Flashing and siding tie-in | Proper integration with existing siding sometimes means removing and resetting adjacent siding pieces |
We'd rather walk a homeowner through these factors honestly during an estimate than throw out a number that doesn't hold up once we open the wall.
Our Process
We keep the process straightforward because window installation shouldn't feel like a mystery:
- On-site assessment: We look at each opening, the wall condition, sun and wind exposure, and talk through what the homeowner actually wants from the windows — energy performance, noise reduction, ease of operation, or all three.
- Recommendation and estimate: We recommend materials and specs based on that specific wall and elevation, not a one-size-fits-all package, and give a clear written estimate.
- Removal and opening inspection: Old windows come out, and we inspect the rough opening for hidden rot or prior water damage before anything new goes in.
- Correct installation: Flashing, sill pan, insulation, and sealing are done to spec — every layer of the water management system gets tied together properly.
- Final check: Every window is operated, locked, and inspected before we consider the job complete, and the work area is cleaned up.
Why a Crew That Already Works Beacon Hill Matters
A crew that installs windows across many different Seattle microclimates learns which details matter where. On Beacon Hill specifically, that means knowing to pay closer attention to wind-driven rain on exposed elevations, using hardware and sealants that hold up against salt air exposure, and recognizing early moss and moisture damage before it turns into a bigger repair. It also means understanding the mix of older and newer housing stock in the neighborhood — older homes often need more careful opening prep, while newer construction may have different flashing systems already in place that need to be matched, not fought against.
Hiring a contractor who treats every Seattle neighborhood the same way is how homeowners end up with a window that looks right for a year or two, then starts leaking. Local, climate-specific knowledge isn't a marketing line — it's the difference between a job that lasts and one that doesn't.
A Quick Checklist Before You Hire
- Ask what flashing method and materials they use, not just what window brand they install
- Ask how they handle rot or damage discovered once the old window is removed
- Ask for a written estimate that breaks down material, labor, and any anticipated opening repairs
- Ask how they'll manage weather during the install, since removed windows leave the wall temporarily open
- Confirm they carry proper licensing and insurance for exterior work in King County
If a contractor can't answer these clearly, that's worth noting before you sign anything.
If you're weighing whether it's time to replace windows on your Beacon Hill home, we're happy to take a look and give you an honest read on what's actually going on — no pressure, no upsell. Use the form below to request a free estimate.