 Seattle
 New-Construction Windows in Wallingford
Wallingford is one of Seattle's steadier neighborhoods for building activity — infill homes, additions, ADUs, and the occasional teardown-rebuild going in on lots that were platted a century ago. Whether you're framing a new house from the ground up or adding a story, the windows you choose and how they get installed will do more to determine long-term comfort and dryness than almost any other single decision on the job. New-construction windows are set into a stud opening before siding and finish trim go on, using a nailing flange fastened directly to the sheathing. Done right, that's the strongest, most weather-tight way to install a window. Done wrong, it's the fastest way to build a leak into a wall that won't show itself for years.
We work new-construction window installs across Seattle and King County, and Wallingford's mix of lot sizes, older sewer and drainage infrastructure, and close-set houses means we see the same handful of details matter over and over. This page covers what a correct install looks like here, what it costs, and how to think about the decision.
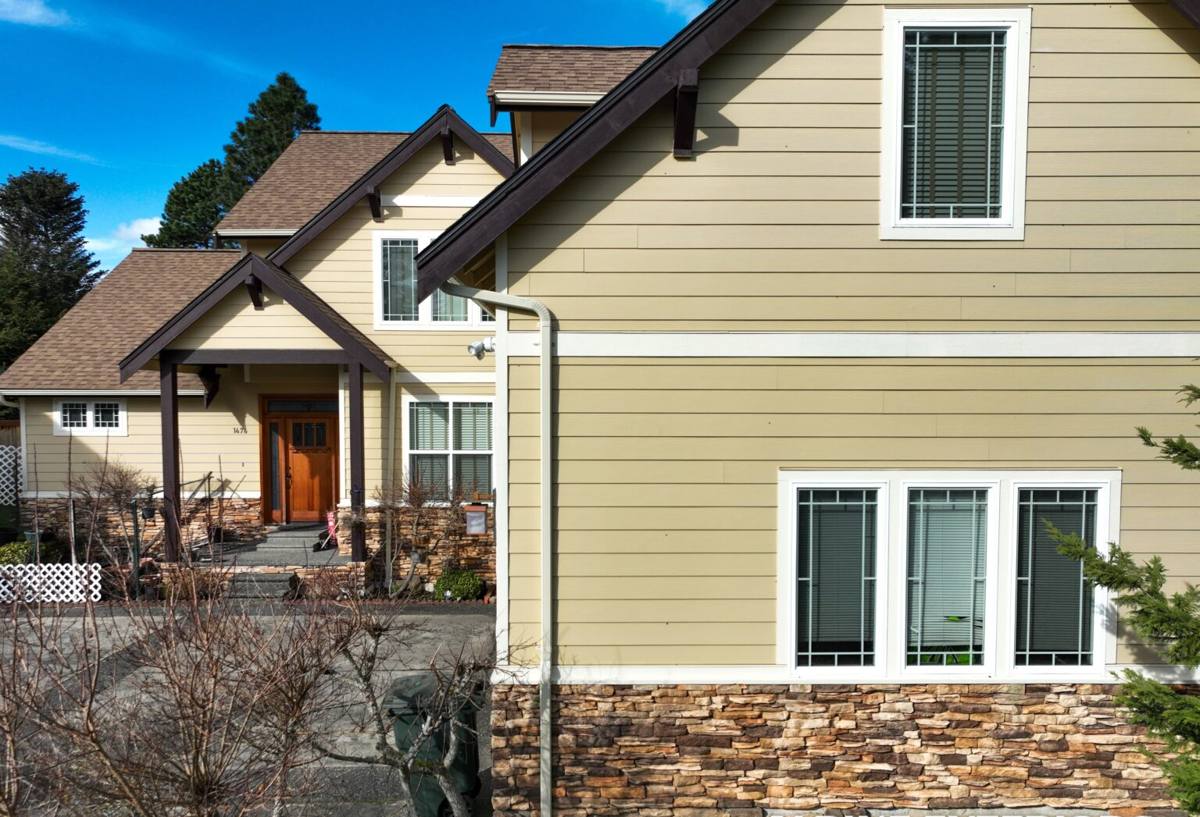
Why the Puget Sound Climate Changes the Job
Seattle doesn't get hurricane-force storms, but it gets something arguably harder on a building envelope: long stretches of driving rain pushed by wind off Puget Sound, months of overcast humidity that never really lets wood framing dry out, and a moss and algae season that runs from fall through spring. Add the marine air common near the Sound and you get slow, steady corrosion pressure on fasteners and hardware that inland, drier climates never see.
For new-construction windows, that means three things matter more here than in a dry climate:
- Flashing sequence has to be layered correctly — sill pan first, then the window, then side and head flashing lapped so water is always directed outward and down, never trapped behind the siding.
- Sealants and tapes need to be rated for sustained moisture exposure, not just a summer rain shower — cheap caulk breaks down faster under our extended wet season.
- Hardware and fasteners should resist corrosion given the humidity and proximity to salt-influenced marine air, especially on window openings facing prevailing weather.
None of this is exotic. It's standard building science. But it only works if every layer is actually installed in the right order, which is where a lot of new-construction window jobs go wrong — not because of a bad window, but because of a rushed or misunderstood flashing detail.
Wallingford-Specific Conditions
Wallingford's housing stock includes a fair number of homes on smaller, closely-spaced lots, which affects new construction in a practical way: scaffolding and material staging are often tighter, and neighboring structures can create wind-funneling effects that concentrate driving rain against specific elevations. We also see a mix of slab and older crawlspace foundations in the neighborhood, which changes how sill flashing ties into the water-resistive barrier below window level. None of this is a problem — it just means the crew doing the install needs to actually look at the specific opening, not run a one-size-fits-all sequence.
What a Correct New-Construction Window Install Involves
New-construction windows differ from replacement windows in one key way: because the siding and exterior trim aren't on yet, the window's nailing flange gets fastened straight to the sheathing and integrated directly into the wall's water-resistive barrier (WRB). That gives you the most robust seal available — but it also means every step has to happen in the right order, because once siding goes on, most of it is hidden forever.
The Sequence We Follow
- Rough opening check. Confirm the opening is square, level, and sized correctly for the window unit before anything else happens.
- Sill pan flashing. A sloped, back-dammed sill pan goes in first so any water that gets past the window has a path back outside instead of pooling on the sill.
- WRB integration at the jambs. The house wrap or building paper is cut and folded into the opening so it laps over the sill pan correctly.
- Set the window and fasten the flange per the manufacturer's schedule — over-fastening or under-fastening both cause problems down the road.
- Side flashing over the flange, then head flashing last, each lapped so water always sheds outward and downward — never sideways or up.
- Air-seal the interior with a compatible low-expansion sealant or backer rod, since an airtight interior seal also protects against condensation inside the wall cavity.
- Final inspection of reveal, operation, and flashing laps before siding crews close the wall.
That last step matters more than people think. Once siding is installed, a flashing mistake is invisible until it shows up as a stain, rot, or a mold smell — sometimes years later. We inspect every opening before it's covered, because that's the only point where a mistake is cheap to fix.
Choosing Window Products for New Construction
We don't push one brand as the answer for every project — the right product depends on your budget, the home's design, and how exposed the opening is to weather. What we do insist on is a nailing-flange, new-construction-rated unit (not a retrofit or pocket-style frame pressed into new framing), and glass and frame specs that match Seattle's energy code requirements for the climate zone.
| Frame Material | Typical Fit for Wallingford New Construction | Trade-Offs to Know |
|---|---|---|
| Vinyl | Budget-conscious new builds, ADUs, rentals | Good moisture resistance, lower upfront cost; limited color/finish range compared to fiberglass or wood |
| Fiberglass | Most new-construction homes wanting durability without high maintenance | Higher upfront cost than vinyl; excellent dimensional stability in temperature and moisture swings |
| Wood/clad-wood | Craftsman-style or higher-end new builds matching Wallingford's older character homes | Best appearance options; needs exterior cladding or diligent maintenance to handle our wet season |
| Aluminum | Modern-design builds, large glass openings | Thermally efficient only with a broken-frame design; check for condensation risk on uninsulated frames |
Whatever frame material you land on, we recommend dual or triple-pane glazing rated for our region's energy code as a baseline, not an upgrade — the difference in comfort and condensation control is noticeable in a marine climate like ours.
What Drives Cost on a New-Construction Window Job
Every project is different, but the honest cost factors for Wallingford new-construction window installs generally come down to a short list:
| Factor | Why It Moves the Price |
|---|---|
| Number and size of openings | More openings and larger glass units mean more material and labor hours |
| Frame material chosen | Vinyl, fiberglass, wood, and aluminum carry different material costs |
| Wall height / access | Second-story or vaulted openings need scaffolding or lift access |
| Site access and staging | Tight Wallingford lots can slow material staging and add labor time |
| Custom shapes or sizes | Special-order units (arched, oversized, corner) cost more and take longer to source |
We won't quote a per-window number here because it genuinely depends on the above — what we will say is that we price new-construction window packages as a whole-project scope worked directly with your builder or GC, not a per-unit retail number, since coordination with framing and siding timelines affects labor efficiency.
Coordinating With Your Builder or GC
New-construction window installs almost never happen in isolation — they're one step in a sequence involving framers, the WRB/house wrap crew, and siding installers. Getting the timing wrong (windows going in before the WRB is properly lapped, or siding closing in before flashing is inspected) is one of the most common ways new builds end up with hidden moisture problems. We coordinate directly with your general contractor or framing crew to schedule window install at the right point in the sequence, and we don't sign off on an opening until the flashing is correctly lapped and inspected — before it disappears behind siding.
A Pre-Close-In Checklist We Use
- Rough openings squared and correctly sized before window delivery
- Sill pans installed with proper back-dam and slope
- WRB laps confirmed in shingle-fashion (upper layers over lower)
- Flange fastening pattern matches manufacturer spec
- Head flashing installed last, lapped over side flashing
- Interior air seal completed with compatible sealant
- Window operation tested (open, close, lock) before siding starts
- Photos taken of flashing layers before they're covered, for your records
Why a Crew That Already Works Wallingford Matters
New-construction window installation is one of those trades where the work that matters most is invisible once the job is done. A homeowner or GC generally can't verify flashing lap sequence after siding is up — you're trusting the crew that did it. That's why experience specific to this neighborhood's conditions counts for something: knowing which elevations catch the worst wind-driven rain on a given lot, understanding how older King County drainage and foundation types interact with new framing, and having already worked through Seattle's inspection and permitting expectations on similar Wallingford builds.
We're not a nationwide franchise cycling through crews — we're a local exterior contractor that has done this sequence enough times in this specific climate to know where corners get cut and why they shouldn't be. That matters on a job where the mistakes don't show up until years later, usually as a repair bill much larger than doing it right the first time would have cost.
Get a Straight Answer for Your Project
If you're framing a new build, addition, or ADU in Wallingford and want windows installed correctly the first time, we're happy to walk the site, look at your plans, and give you a clear, no-pressure estimate — no inflated urgency, no upsell pitch, just an honest read on what your project needs. Use the form below to get started.