 Seattle
 New-Construction Windows for University District Builds
University District is one of the more active pockets of Seattle for new single-family homes, townhome rows, and infill additions, driven by the neighborhood's proximity to the University of Washington and steady demand for housing close to campus and the urban core. Whether you're a builder framing a new spec home, a homeowner adding a second story, or a developer working through a multi-unit lot, the windows you install during construction have to do more than look good in the listing photos. In King County's marine climate, a new-construction window is only as good as the flashing and sequencing around it — get that wrong and the drywall damage shows up two winters later, long after the crew has moved on to the next job.
This page covers what a correct new-construction window install actually involves in this neighborhood, why it's a different job than swapping out old windows in an existing wall, and what we do differently because we've installed windows on builds throughout Seattle and King County, not just in one subdivision.
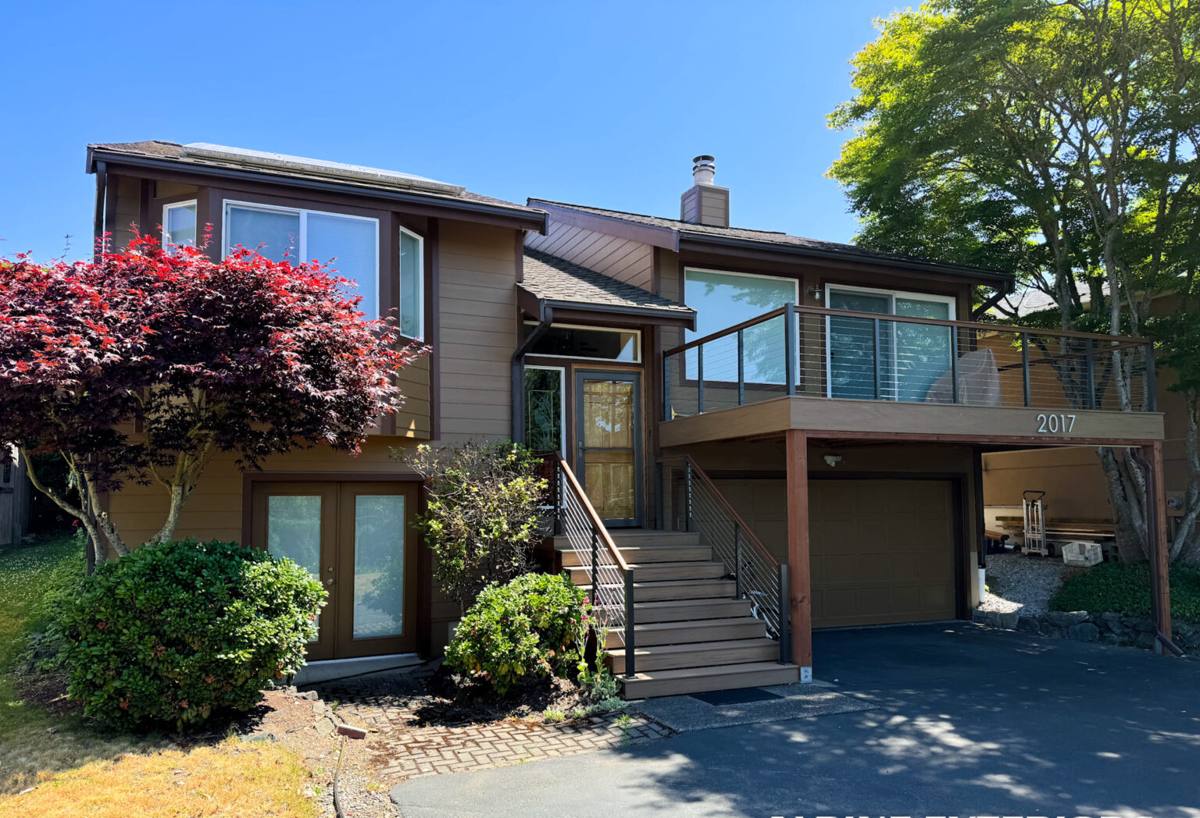
New-Construction Windows vs. Replacement Windows
These are not the same product or the same job, and mixing them up is one of the most common mistakes we see on infill projects. New-construction windows have a nailing fin (flange) around the perimeter of the frame that gets fastened directly to the wall sheathing and integrated with the weather-resistive barrier (WRB) and flashing tape before the siding goes on. Replacement (or "pocket") windows are built to slide into an existing frame with no nailing fin, relying on the old frame and trim for structural support.
On a new build or an addition, you want new-construction windows installed in the correct sequence with the building envelope — not a retrofit product forced into a rough opening because it happened to be on hand. If your project involves a full teardown-to-stud opening, this is the window type and installation method you need, and it's worth confirming with your framer or GC before materials get ordered.
Why the Distinction Matters Here
- Nailing-fin windows tie into the WRB and flashing system as one continuous water-management layer — the window doesn't work in isolation from the wall around it.
- Replacement windows installed into new framing skip that integration and rely on sealant alone, which is a maintenance item, not a permanent water barrier.
- Getting the wrong product type on order can delay a framing or siding schedule by weeks while the right units are sourced.
What Seattle's Climate Demands from a New Window Install
Seattle and King County don't get hurricane-force storms, but the combination of salt-laden air off Puget Sound, long stretches of driving, wind-blown rain, and a moss season that can run most of the year puts a different kind of steady stress on a building envelope than drier climates see. None of this is dramatic on any given day — it's cumulative. A flashing detail that's "close enough" in a dry climate will show a stain or soft spot around a University District window opening within a couple of wet seasons if it isn't done to spec.
For new construction specifically, that means:
- Sill pan flashing under every window opening, sloped to shed any water that gets past the window back to the exterior — not just caulk at the bottom of the rough opening.
- Shingle-lapped flashing tape at the head, jambs, and sill, layered so water always drains outward and down, never behind the WRB.
- A drainage gap or rainscreen detail behind the siding so incidental moisture and condensation have somewhere to go instead of sitting against the sheathing.
- Corrosion-resistant fasteners and hardware, since salt air moving inland off the Sound accelerates corrosion on lower-grade screws, cladding fasteners, and hinge hardware over time.
- Glass and coatings suited to low light — Seattle's overcast months mean low-E coatings need to be selected for solar heat gain balance, not just heat loss, so rooms don't end up darker than necessary.
Choosing the Right Frame Material
There's no single "best" window frame material — it's a trade-off between cost, maintenance, and how the material handles moisture over decades, which matters more here than in a dry climate.
| Frame Material | Moisture Performance | Maintenance | Typical Fit |
|---|---|---|---|
| Vinyl | Good — won't rot, but can warp under prolonged wet/dry cycling if lower grade | Low | Budget-conscious builds, rental/spec construction |
| Fiberglass | Excellent — dimensionally stable, handles wet climates well | Low | Mid-to-high-end new construction, long hold periods |
| Aluminum | Fair — conducts cold and can condense without thermal breaks | Low-Medium | Modern/contemporary designs, larger glass units |
| Wood / Wood-Clad | Requires diligent detailing — clad exteriors protect the wood, but any breach lets moisture in | Medium-High | Traditional or craftsman-style builds where interior wood trim matters |
We'll walk through this trade-off with you rather than defaulting to whatever's cheapest to source. On a spec home going to market quickly, vinyl or fiberglass usually makes sense. On a custom build meant to be owned for 20-plus years, the maintenance profile of wood-clad or the stability of fiberglass may be worth the added cost. What we won't do is install a frame type into a detail it wasn't designed for just because it's what a builder had on the truck.
How Our Process Works on a New-Construction Job
We treat every new-construction window install as part of the building envelope, not a standalone product swap.
- Plan review and rough opening check — we confirm window schedule, sizes, and egress requirements against the framed openings before anything is ordered, catching sizing conflicts while they're still cheap to fix.
- Sill pan and flashing sequencing — installed in the correct shingle-lap order with the WRB, before the window ever goes in the opening.
- Window set and shim — units are set plumb, level, and square, shimmed at load points (not just the corners), and fastened per manufacturer spec so warranty coverage stays intact.
- Perimeter sealing and insulation — low-expansion foam or backer rod and sealant at the interior gap, avoiding over-foaming that can bow vinyl frames.
- Final flashing and siding tie-in — head flashing lapped correctly under the WRB and coordinated with the siding crew's water table so the whole assembly sheds water as one system.
- Walkthrough — operation, locking hardware, and weep holes checked before we call the job done.
Common Mistakes We Catch on Infill and Addition Projects
University District has a lot of tight lots, additions, and second-story pop-tops where new window openings meet existing framing — that transition point is where problems tend to show up.
- Flashing tape applied in the wrong lap order, directing water behind the barrier instead of out over it
- No sill pan, relying on caulk alone at the bottom of the opening
- Nailing fin fully embedded in sealant instead of allowing a drainage path
- Window units substituted mid-project without confirming the new unit's flange and rough opening dimensions match
- Siding installed tight against the window frame with no reveal for drainage or expansion
- Egress-sized windows omitted from a bedroom addition, creating a code compliance problem after drywall is up
Permits and Code Considerations
New-construction and addition window work in Seattle falls under Seattle's adopted energy code and building code, which set minimum requirements for U-factor (heat loss) and egress sizing in sleeping rooms. On additions and remodels, egress compliance is one of the first things an inspector checks, and it's far cheaper to confirm window sizing against code during the framing stage than after the opening is already cut and trimmed. We coordinate window specs with your plans so what goes in the wall matches what's on the permit set — avoiding a failed inspection and a re-order.
Why Hire a Crew That Already Works in University District
New-construction window work depends on getting the sequencing right with framers, WRB installers, and siding crews — all of whom have their own schedule and their own way of doing things. A crew that already works jobs in this part of Seattle knows how to coordinate that handoff without slowing down a build schedule, understands the density and lot-line constraints common to U District infill projects, and has already seen how the local climate treats different flashing and frame choices over time. That's a different level of judgment than a crew installing windows here for the first time, and it shows up in fewer callbacks once the siding is closed up and the scaffolding comes down.
If you're planning new construction, an addition, or an infill project in University District and want windows installed correctly the first time, we're happy to walk your plans and give you a straightforward, no-pressure estimate — just fill out the form below.