 Seattle
 Window Installation in Rainier Valley: The Install Is What Determines the Outcome
"Window installation" covers more ground than most homeowners realize before they start a project. It's the physical work of setting a window into an opening and integrating it with everything around it — the framing, the weather-resistive barrier, the flashing, the siding, and the interior finish. That work happens whether you're putting new windows into a Rainier Valley addition, filling a rough opening in new construction, or setting a replacement unit into an opening that already has a window in it. In every case, the window itself is only part of the story. How it's installed is what actually decides whether it performs for one wet Seattle winter or for several decades.
We work siding, roofing, windows, and decks across Seattle and King County, and on window jobs we treat the installation detail — not the brand printed on the frame — as the thing that separates a job that holds up from one that doesn't. That matters everywhere, but it matters more in a neighborhood like Rainier Valley, where older housing stock, a mix of building eras, and Puget Sound's marine climate all put real pressure on an installation that cuts corners.
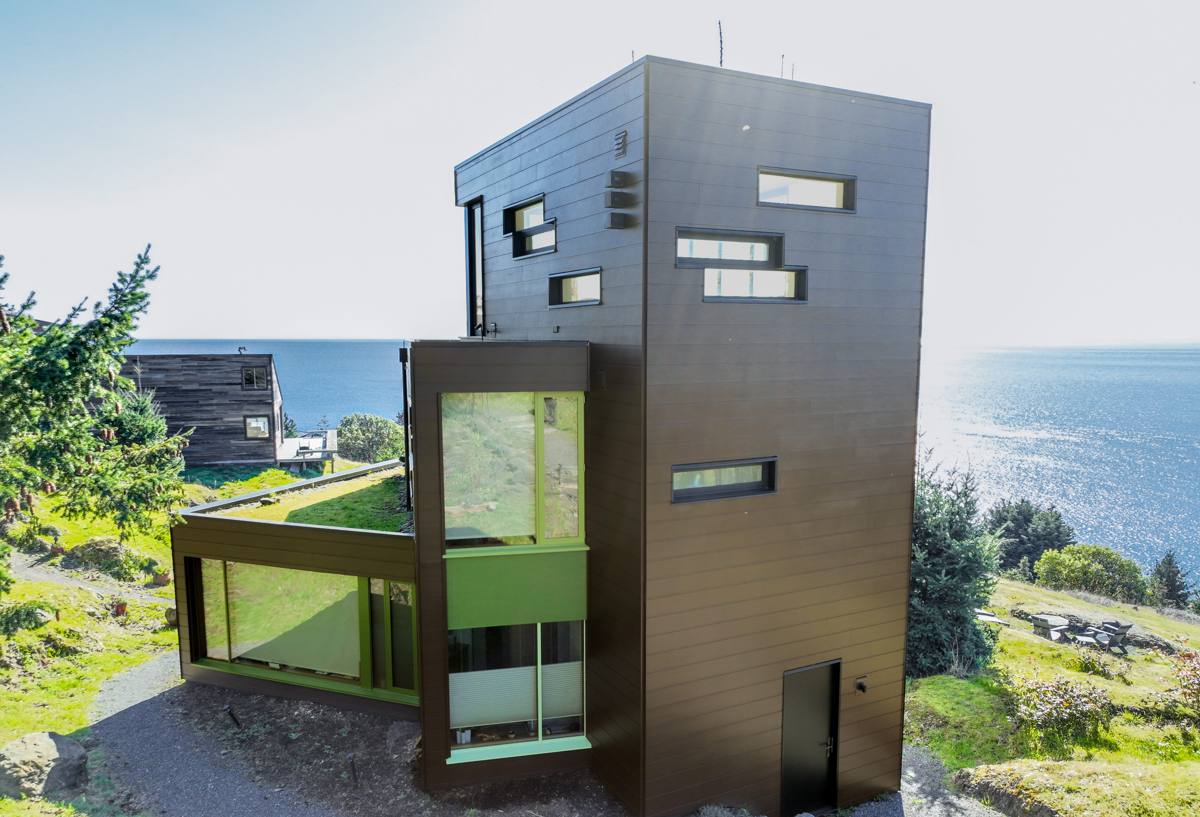
Full-Frame vs. Insert Installation: The Decision That Comes Before Everything Else
Before a single window gets ordered, there's a decision to make about installation method, and it has more effect on long-term performance than almost anything else in the project. An insert installation (sometimes called a pocket or retrofit install) sets a new window frame inside the existing frame, leaving the surrounding trim and siding largely undisturbed. A full-frame installation removes the window down to the rough opening — old frame, trim, and often the flashing around it — and rebuilds from the framing out.
Neither one is automatically the right call. It depends on the condition of what's already there.
| Factor | Insert Installation | Full-Frame Installation |
|---|---|---|
| Existing frame condition | Requires a sound, square, undamaged frame to install into | Necessary if the frame is rotted, out of square, or previously flashed incorrectly |
| Disruption | Less disruption to interior and exterior trim, siding, and paint lines | More disruption — siding and trim around the opening come off and get reinstalled |
| Glass area | Slightly smaller viewable glass area, since the new frame nests inside the old one | Full original glass area preserved or increased |
| Flashing access | Limited — existing flashing behind the old frame can't be inspected or corrected | Full access to inspect, repair, and properly re-flash the opening |
| Typical cost and timeline | Generally faster and less expensive per window | More labor and time, especially where siding has to be removed and refitted |
The honest answer for a lot of older Rainier Valley homes is that the frame condition decides it for you. If a frame has been holding water for years, an insert installation just seals a moisture problem behind a new window instead of fixing it. We check the frame and the surrounding wall before recommending either method, rather than defaulting to whichever is faster to sell.
Rough Openings for New Construction and Additions
When a window is going into a new addition or a framed rough opening rather than an existing hole in the wall, the installation starts one step earlier — confirming the rough opening is framed to the correct size, square, and plumb before the window ever shows up. Getting that step wrong is what forces shims, gaps, or field modifications later, and any of those makes it harder to get flashing and insulation right. It also matters for code-driven openings, like a bedroom egress window sized to current requirements — the opening has to be right before installation can be right.
What Rainier Valley's Climate Demands From an Installation
Seattle sits inside a marine climate, and King County homes take on real, sustained stress from it — salt-influenced air moving in off the Sound, storms that drive rain sideways into wall assemblies instead of letting gravity handle it, and a moss and mildew season that can run most of the year on shaded siding and trim. None of that is unique to Rainier Valley specifically, but it's a real, year-round factor for every window installed here, and it changes what "correct installation" has to account for compared to a drier climate.
- Wind-driven rain reaches seams and laps that would stay dry in a calmer climate, which means flashing sequence and lap direction have to be right every time, not just on the windows facing the weather.
- Salt-tinged marine air speeds up corrosion on fasteners, hinges, and lower-grade hardware, so fastener and hardware selection matters more here than in an inland market.
- A long moss and mildew season means anywhere water can sit against a sill, trim board, or the base of a window becomes a growth surface eventually — drainage detailing at the sill isn't optional.
- Repeated wet-dry and cold-warm cycling through fall, winter, and spring stresses sealants and gaskets more than a stable, drier climate would, which is part of why installation-grade sealant and correct joint width matter more here than the product spec sheet alone would suggest.
What a Correct Installation Actually Involves
A lot of what determines whether a window installation holds up happens in steps a homeowner never sees once the trim goes back on. We treat all of the following as standard practice on every window we install — not upgrades.
Opening Prep and Inspection
Before a new window goes in, the opening gets checked for rot, water staining, out-of-square framing, and any sign that a previous installation let water get behind the wall. On a full-frame install this is straightforward, since the opening is fully exposed. On an insert install it's more limited, which is exactly why frame condition has to be verified before choosing that method in the first place.
Sill Pan and Drainage Path
A sill pan creates a sloped, waterproof pan at the bottom of the rough opening so that any water that does get past the window — through condensation, a failed seal down the road, or wind-driven rain finding a gap — has somewhere to go besides the framing underneath it. In a climate that sees as much sustained moisture as Seattle's, a sill pan is one of the cheapest, most effective pieces of insurance in the whole installation.
Flashing Integration With the Wall Assembly
Flashing has to lap correctly with the weather-resistive barrier already on the wall — over the barrier at the top, under it at the sides and bottom — so water sheds down and out rather than getting trapped behind the trim. This is the step that gets rushed most often on a fast or inexperienced install, and it's also the step that shows up years later as staining, soft trim, or interior water damage when it's done wrong.
Insulation and Air Sealing
The gap between the window frame and the rough opening needs to be filled with a material that seals air movement without over-compressing and bowing the frame — over-packed insulation is a common, avoidable cause of a window that won't operate smoothly after installation. Done correctly, this step also cuts drafts and improves comfort near the window, which is often the first thing a homeowner actually notices.
Interior and Exterior Finish
Trim, casing, and exterior cladding get reinstalled or repaired to close out the job, with sealant used at the right joints — as a supplement to flashing, not a substitute for it. Caulk alone breaks down and cracks over time; it was never designed to be the only line of defense against wind-driven rain.
Cost Factors for a Rainier Valley Installation
Every project is different, but the factors that actually move the price are consistent. We give a written, itemized estimate before work starts rather than a single flat number, because these variables can shift the scope significantly.
| Factor | Why It Affects Cost |
|---|---|
| Installation method | Full-frame installs involve more labor, siding removal, and re-flashing than insert installs |
| Opening condition | Rot or prior water damage found during removal adds repair work before the new window goes in |
| Story and access | Second-story or hard-to-access openings take longer and may require additional equipment |
| Number of openings | A whole-house or matched-set project generally has better per-window economics than a single unit |
| Siding and trim material | Some siding types are easier to remove and reinstall cleanly around an opening than others |
| New construction vs. retrofit | A framed rough opening in new work is typically simpler than integrating with existing finished walls |
Our Installation Process
- On-site assessment — we look at each opening, the existing frame or rough framing, and how the wall around it is currently handling water, and recommend full-frame or insert installation based on actual condition, not convenience.
- Written scope and timeline — a clear breakdown of the work, materials, and a realistic schedule, including lead time if the window is a non-stock size.
- Careful removal or opening prep — old units come out cleanly, or new rough openings get verified for size and square, with any rot or damage flagged before proceeding.
- Sill pan, flashing, and WRB integration — installed in the correct sequence so water sheds out and away from the framing, every time, on every opening.
- Setting, shimming, and air sealing — the window is set square and plumb, secured per manufacturer specification, and the perimeter gap is sealed without over-compressing the frame.
- Interior and exterior finish — trim, casing, and siding are reinstalled and sealed at the appropriate joints, and the work area is left clean.
A Checklist Before Hiring for Window Installation in Rainier Valley
- Ask whether the recommendation is full-frame or insert installation, and why, based on your specific opening — not a default answer.
- Confirm current Washington contractor licensing and active liability insurance.
- Get a written scope that separates the manufacturer's product warranty from the contractor's installation warranty.
- Ask specifically how sill pans and flashing are handled — not just which window brand is being installed.
- Ask about realistic lead times, since custom or non-stock sizes can take several weeks to arrive.
- Ask how they plan around Seattle's wetter months, since exposed openings need to be closed in quickly once work starts.
Why a Crew That Already Works Rainier Valley Matters
A contractor who regularly installs windows in Rainier Valley and the rest of Seattle has already seen how the mix of housing ages in this neighborhood plays out in practice — older homes where a full-frame install often uncovers flashing that was never done correctly the first time, and newer construction or additions where the rough opening was framed cleanly and an insert or standard install is straightforward. That experience shows up in decisions that don't get discussed in a sales pitch: how much lap a flashing course gets, whether a sill pan is treated as standard or skipped to save time, which fastener grade holds up against marine air over the long run. Those decisions are what actually determine whether an installation is still performing cleanly in fifteen years or showing leaks and drafts in five.
It also means fewer surprises with permitting, scheduling around King County's wetter stretches, and realistic expectations set up front about what a given opening actually needs — rather than finding out mid-project that the frame was rotted behind the trim all along.
Ready to Talk Through Your Project
Whether you're planning windows for a Rainier Valley addition, filling openings in new construction, or replacing what's already there, the installation details matter more than the brand on the frame. We're happy to take a look at your specific openings and walk through what a correct installation involves for your project. Reach out below for a free, no-pressure estimate.