 Seattle
 Why Beacon Hill's Climate Is Tougher on Siding Than It Looks
Beacon Hill sits up on a ridge overlooking downtown Seattle and the surrounding waterways, and that elevation is a mixed blessing for the homes up here. The views are a selling point, but the same exposure that gives you a good vantage point also means your siding takes on wind-driven rain, damp marine air, and long stretches of shade from the neighborhood's mature tree canopy. Add in Seattle's famously wet fall-through-spring stretch, and you've got a recipe for siding that looks fine from the street but is quietly failing underneath.
Three things do most of the damage here. Salt-tinged air off Puget Sound accelerates corrosion on fasteners and metal trim and slowly degrades weaker siding substrates over years of exposure. Driving rain — the sideways kind that Seattle gets during winter storms — finds every gap in flashing, caulking, and lap seams instead of just running off a wall the way it would in a drier climate. And a long moss season, stretching from the first fall rains well into late spring, keeps north-facing and shaded walls damp for months at a time, which is exactly the environment moss, algae, and mildew need to take hold on porous or poorly sealed siding.
None of this means Beacon Hill homes are doomed to constant repairs. It means the siding material and installation details matter more here than they would in a drier part of King County, and that's the lens we bring to every replacement job in this neighborhood.
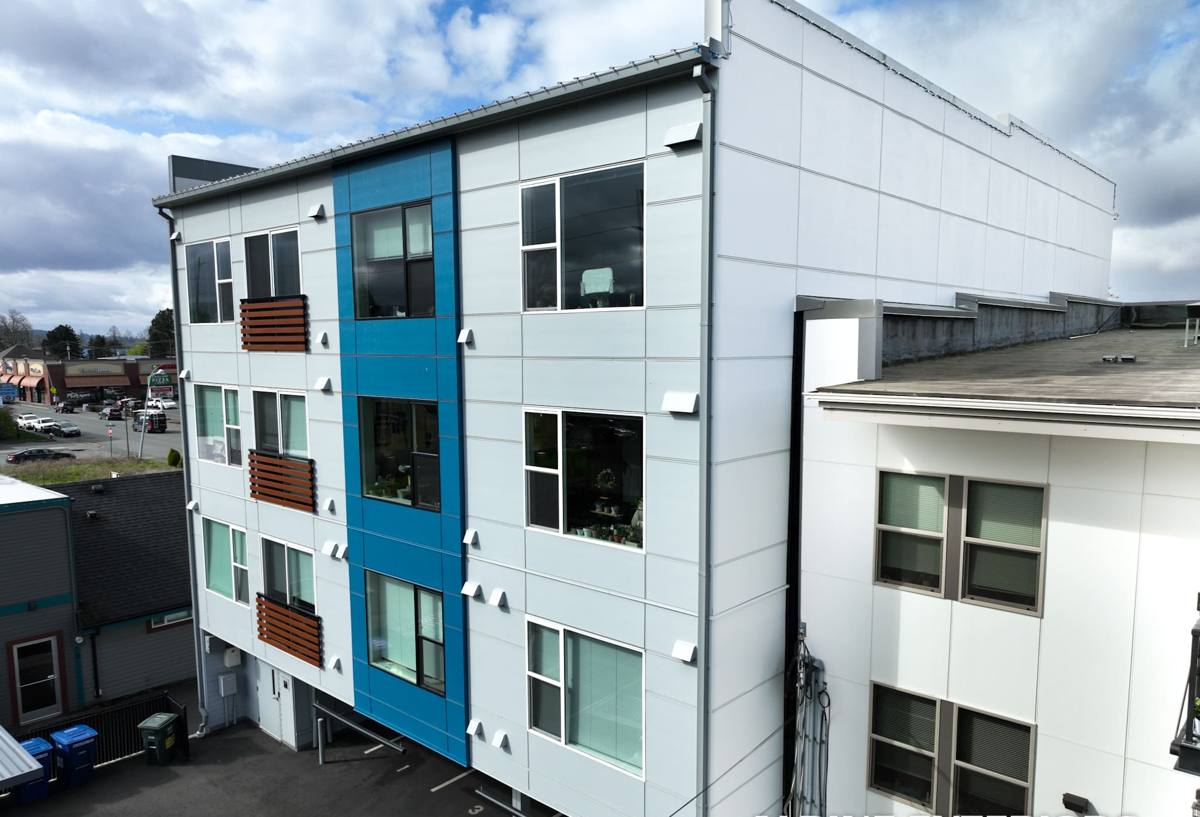
Signs Your Beacon Hill Home May Need New Siding
Siding failure in this climate is often gradual and easy to miss until it's expensive. Here's what we look for, and what you can check yourself from the ground:
- Soft or spongy spots when you press on the siding, especially near the bottom courses or below windows
- Persistent green or black staining on north- and west-facing walls that pressure washing only removes temporarily
- Paint that's bubbling, peeling, or needing repainting far more often than the rest of the house
- Visible warping, cupping, or buckling in individual boards or panels
- Gaps opening up at seams, corners, or where siding meets trim, window frames, or the foundation
- A musty smell in rooms along an exterior wall, which can point to moisture getting behind the siding
- Siding that's original to a home built more than 25-30 years ago and hasn't been inspected recently
Any one of these on its own might just need a repair. Several together, especially on a home with real age on it, usually means the underlying moisture barrier and sheathing need a closer look — not just new siding on top of the same problems.
What a Correct Siding Replacement Actually Involves
Tear-Off and Substrate Inspection
The single biggest mistake in siding work is treating it as a cosmetic swap. A proper replacement starts with full tear-off, not installing new siding over old. That's the only way to actually see the sheathing, framing, and existing moisture barrier underneath — and on a hill neighborhood with this much rain exposure, what's underneath the old siding is often the real story. Rotten sheathing, compromised framing, or a moisture barrier that's failed gets repaired before anything new goes up. Skipping this step just seals existing damage behind a fresh face.
Moisture Management Details
Once the substrate is sound, the weather-resistive barrier gets installed or replaced correctly, with proper overlap and sealing at every seam. Flashing goes in around every window, door, and penetration — this is where driving rain finds its way in if it's rushed or skipped. Housewrap tape and sealants matter here in a way they don't in drier climates, because Beacon Hill's rain doesn't just fall straight down; it gets pushed sideways into every gap by wind coming off the Sound.
Installation to Manufacturer Spec
Fastener type, spacing, and placement are all specified by the siding manufacturer for a reason — get them wrong and you void the warranty and create weak points where moisture gets in. Proper clearance is left at the foundation and any grade contact, gaps are left where the manufacturer calls for them (not caulked shut everywhere out of habit), and joints are staggered and flashed correctly. This is the difference between siding that holds up through Beacon Hill's moss season for decades and siding that needs attention again in five years.
Why We Install Only James Hardie Fiber Cement
We don't install vinyl, LP SmartSide, cedar, primed spruce, Cemplank, or Allura. That's a deliberate standard, not a lack of options. In a climate defined by salt air, sustained damp, and heavy moss pressure, the material matters as much as the installation.
| Factor | James Hardie Fiber Cement | Vinyl | Cedar / Wood | LP SmartSide |
|---|---|---|---|---|
| Moisture behavior | Non-organic, doesn't absorb and swell | Doesn't absorb, but seams and gaps flex and open over time | Absorbs moisture, prone to rot without diligent upkeep | Engineered wood core can swell if moisture gets past the coating |
| Moss / algae resistance | Factory ColorPlus finish resists staining and holds up to cleaning | Can stain and is prone to warping in heat, brittleness in cold | Needs regular sealing/staining to resist moss and rot | Vulnerable at cut edges and damaged coating spots |
| Fire resistance | Non-combustible | Combustible, can melt or warp near heat | Combustible | Combustible (wood-based) |
| Typical lifespan when installed to spec | 30+ years | 20-25 years | 15-25 years with upkeep | 20-25 years |
| Warranty structure | Strong transferable factory warranty | Varies, often prorated | Typically none beyond installer workmanship | Manufacturer warranty with maintenance conditions |
Every product on that list has legitimate uses somewhere. But for a neighborhood dealing with salt air, driving rain, and months of shaded dampness every year, we've found that Hardie's non-combustible fiber cement, factory-applied ColorPlus finish, and climate-engineered HZ product lines simply hold up better with less maintenance burden on the homeowner. That's why it's the only siding we put our name behind.
Our Process on a Beacon Hill Project
Assessment and Permitting
We start with an on-site walk of the exterior, checking for the failure signs above and getting a real look at trim, window flashing, and any problem areas. Depending on the scope of work, the City of Seattle may require a permit for exterior siding replacement — we handle that determination and the paperwork so it's not on you to figure out.
Protecting Your Property During the Work
Beacon Hill lots often have mature landscaping, retaining walls, and slope considerations that flatter neighborhoods don't. We stage tear-off and material handling with that in mind, protecting plantings and walkways and managing debris carefully on properties where truck and dumpster access can be tighter than a typical suburban lot.
Final Inspection and Cleanup
Once the new siding is up, we walk the exterior again to confirm flashing, caulking, and fastener details are correct before we call the job done — not after the fact. Site cleanup includes a magnetic sweep for stray fasteners and full debris removal.
Cost Factors for Beacon Hill Siding Replacement
Every home is different, but these are the variables that actually move the number on a Beacon Hill project:
| Factor | Why It Matters Here |
|---|---|
| Extent of substrate damage | Homes with long-term moisture intrusion often need sheathing or framing repair discovered at tear-off |
| Home age and siding type being removed | Multiple layers of old siding or original wood siding take more labor to remove than a single layer |
| Site access and slope | Hillside lots, tight side yards, and limited staging space can affect labor time and equipment needs |
| Trim and detail work | Bay windows, dormers, and multiple roof lines add cutting and flashing time |
| Product line and finish selected | Hardie's plank, shingle, and panel lines and ColorPlus color options vary in material cost |
| Permit requirements | Scope-dependent city permitting can add time to the schedule, though rarely significant cost |
We give you a firm, itemized number after the on-site assessment — not a phone estimate based on square footage alone, since the substrate condition is often the biggest variable on an older Beacon Hill home.
Why Local Experience in Beacon Hill Matters
A crew that mostly works drier, more sheltered parts of King County can still do competent siding work, but they haven't necessarily built the habits this neighborhood demands — extra attention to flashing details on wind-exposed walls, moss-conscious material choices, and realistic expectations about how a hillside lot affects staging and access. Working Beacon Hill regularly means we're not learning these lessons on your house; we've already priced in the site-access realities and built our installation checklist around what actually fails here versus what fails in a drier microclimate elsewhere in Seattle.
Keeping New Siding Looking Right Through Moss Season
Even the best siding benefits from a little upkeep in this climate. A soft wash (not high-pressure) once a year on shaded, north-facing walls keeps moss and algae from getting a foothold. Keep gutters clear so overflow isn't running down the wall face, and trim back vegetation that's holding moisture against the siding. Hardie's factory finish resists staining far better than paint-grade wood or vinyl, but a little seasonal attention goes a long way toward keeping it looking new through Beacon Hill's long wet stretch.
If your siding is showing any of the signs above, or you're simply due for an honest assessment, we're glad to take a look. Fill out the form below for a free, no-pressure estimate — we'll tell you straight what your home actually needs, not just what's easiest to sell.