 Seattle
 Why Queen Anne Homes Take a Beating
Queen Anne sits high above the rest of Seattle, and that elevation cuts both ways. The views are part of what makes the neighborhood, but that same exposure means homes up on the hill catch more wind off Puget Sound and Elliott Bay than houses tucked into lower, more sheltered parts of the city. Wind-driven rain doesn't just fall on siding here — it gets pushed sideways into laps, seams, and trim joints, which is exactly where cheap or aging siding starts to fail first.
Add in King County's long wet season, and you get months at a stretch where siding rarely gets a chance to fully dry out between storms. That damp stretch is also prime moss and mildew season, and on a hill neighborhood with plenty of mature trees casting shade on north-facing walls, moss doesn't just show up — it settles in and holds moisture against the siding for weeks.
Queen Anne's housing stock adds another layer. There's a real mix of early-1900s craftsman and Victorian-era homes, mid-century houses, and newer infill, and a lot of the older ones still have original or once-replaced siding that was never built for this kind of sustained moisture load. Wood siding on these homes is often past the point where another coat of paint solves anything.
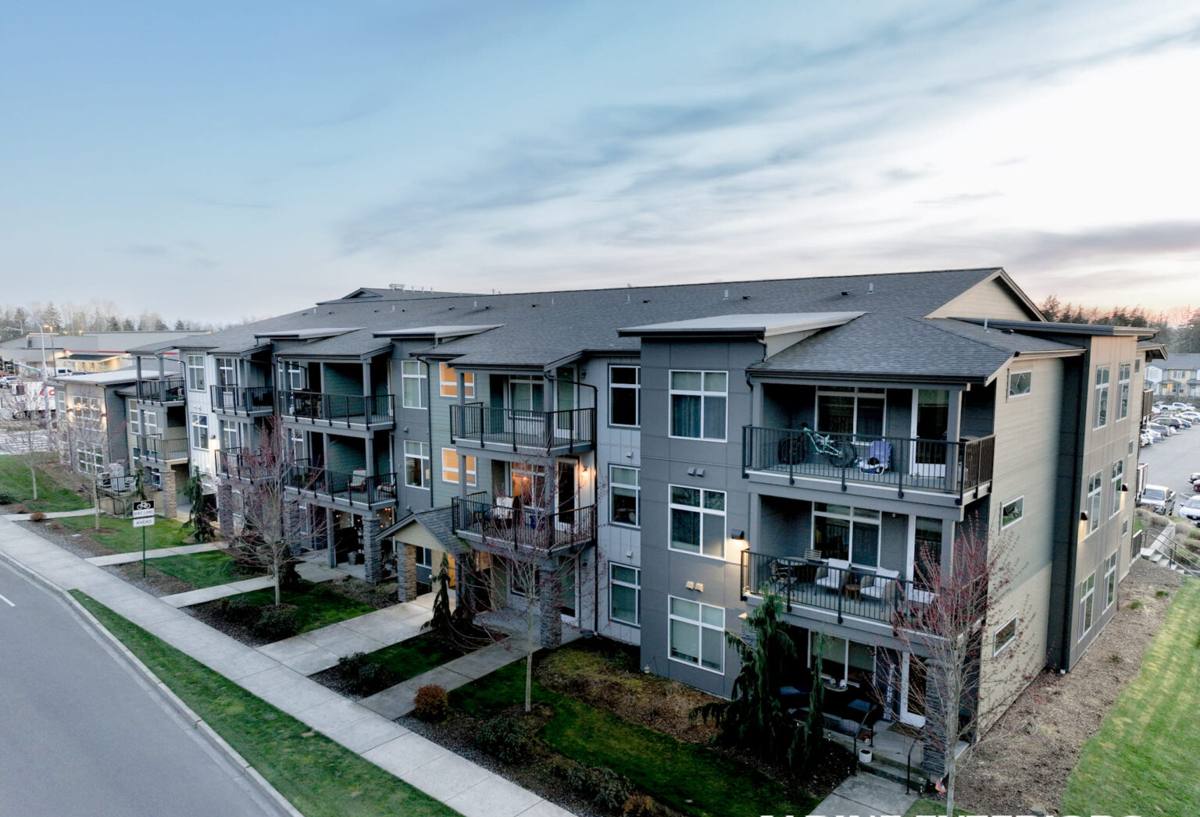
Signs You Need Replacement, Not Another Repair
Homeowners often start with a patch or a repaint, and sometimes that's the right call. But certain signs mean the siding itself is done, and further patching just delays a bigger repair bill:
- Soft or spongy spots when you press on the siding, especially near the bottom courses or around window sills
- Paint that keeps failing within a year or two of repainting, even on surfaces that were properly prepped
- Visible buckling, warping, or gaps opening up at seams and trim
- Moss or mildew that comes back within a season or two of cleaning
- Rising heating bills without any other explanation, which can point to moisture-compromised insulation behind the siding
- Rot at corners, under windows, or anywhere two surfaces meet and water tends to collect
If more than one of these shows up at once, it's usually a sign the siding has been letting moisture in for a while, not that a single storm caused sudden damage.
Why We Install Only James Hardie Fiber Cement
We don't install vinyl, LP SmartSide, Cemplank, Allura, primed spruce, or cedar. That's a deliberate standard, not a lack of options. Each of those products has real strengths — vinyl is inexpensive, engineered wood has a warmer look, cedar has genuine character — but each also comes with a trade-off that shows up over time in a climate like this one: vinyl can warp and fade and doesn't hold paint well if you ever want to change color; engineered wood siding depends heavily on sealed edges and correct installation to resist moisture; and untreated or primed wood needs an ongoing maintenance commitment most homeowners don't want to keep up with for the life of the house.
James Hardie fiber cement is non-combustible, holds a factory-applied ColorPlus finish that resists fading far longer than field-applied paint, and its HZ5 product line is specifically engineered for wetter, harsher climates like the Pacific Northwest. It doesn't rot, it doesn't feed moss the way wood fibers can, and it carries a strong transferable warranty when installed to the manufacturer's specification. We put it on homes because it's the product that holds up to what Queen Anne's weather actually does, year after year, not just in the first few seasons.
What Homeowners Give Up With Other Products
The honest trade-off with cheaper or alternative siding isn't that it fails immediately — it's that it demands more attention from the homeowner over time: more caulking touch-ups, more repainting, more vigilance about moisture at seams. Fiber cement shifts that burden away from you and onto the material itself.
What a Correct Siding Replacement Actually Involves
Siding replacement is not just removing old panels and nailing up new ones. Done right, it's a full envelope job:
- Full tear-off of the existing siding, not installation over top of it
- Inspection of the sheathing underneath for rot, soft spots, or prior water damage
- Repair or replacement of any compromised sheathing before new siding goes up
- Installation of a weather-resistant barrier across the entire wall assembly
- Correct flashing at every window, door, and penetration — this is where most moisture problems start if it's skipped or rushed
- Installation following Hardie's fastening, clearance, and gapping specifications, including proper starter strips and kick-out flashing where rooflines meet walls
- Factory-finished panels caulked and sealed only where the manufacturer's instructions call for it, not everywhere
Skipping any one of these steps is how a siding job looks fine for a year or two and then starts failing exactly where corners were cut.
Our Process for Queen Anne Projects
We walk every project through the same sequence, whether it's a craftsman on a narrow hillside lot or a larger mid-century home:
1. On-Site Assessment
We inspect the existing siding, probe suspect areas for hidden rot, and check the sheathing condition before quoting anything. This is also when we look at site-specific factors like tree cover, wall exposure, and access.
2. Detailed Estimate
You get a clear, itemized estimate covering tear-off, any substrate repair, materials, and installation — no vague allowances buried in the total.
3. Scheduling Around the Weather
We plan tear-off and installation windows with King County's rain patterns in mind, so open wall sections aren't left exposed longer than necessary.
4. Tear-Off and Substrate Repair
Old siding comes off, sheathing gets inspected and repaired as needed, and the wall is prepped properly before anything new goes up.
5. Installation to Spec
Hardie panels, trim, and flashing go in following manufacturer specifications, not shortcuts.
6. Final Walkthrough
We review the completed work with you, including caulking lines, trim details, and any touch-up needs, before calling the job done.
What Drives the Cost of a Queen Anne Siding Job
| Factor | Why It Matters |
|---|---|
| Home size and number of stories | More wall area and height means more material, more labor hours, and more staging or lift equipment |
| Extent of hidden rot | Sheathing repair discovered during tear-off adds time and material beyond the base siding scope |
| Site access | Steep lots, narrow driveways, and limited street parking common on the hill can slow material staging and debris removal |
| Trim and detail complexity | Older homes with more window and trim detail take longer to flash and finish correctly |
| Siding profile and color choice | Factory-finished ColorPlus colors and certain panel profiles carry different material costs |
We don't quote broad ballpark numbers without seeing the house — too many of these factors are site-specific to guess responsibly.
Why a Crew That Already Works Queen Anne Matters
Queen Anne's terrain isn't like a flat suburban lot. Steep grades, narrow access points, mature trees close to the house, and tight street parking all affect how a job gets staged and how long tear-off and disposal take. A crew that's worked the neighborhood before knows to plan for that upfront instead of discovering it mid-project.
There's also the matter of permitting and code compliance within Seattle city limits, which differs from unincorporated King County work. A contractor familiar with local requirements avoids delays that surprise homeowners partway through a job.
When vetting any contractor for siding work, ask:
- Do you pull the required permits yourself, or is that left to me?
- What brand and product line of siding do you install, and why?
- Will you inspect and repair sheathing if you find rot, or is that a separate change order?
- Can I see your installation process in writing, not just a verbal summary?
- How do you handle site access and material staging on hillside lots?
Caring for Hardie Siding After Installation
Fiber cement is low-maintenance compared to wood, but "low" isn't "none," especially with Queen Anne's moss-friendly conditions:
- Rinse siding annually to clear moss spores and organic buildup before they take hold, especially on shaded, north-facing walls
- Keep gutters clear so overflow doesn't run down and pool against siding at corners
- Trim back vegetation that's crowding the wall to let siding dry out between rain events
- Check caulking at trim joints and penetrations every year or two and touch up as needed
- Address any impact damage promptly rather than letting it sit exposed
None of this is heavy upkeep — it's the kind of routine attention that keeps any exterior performing the way it's supposed to.
If your Queen Anne home is showing signs of siding trouble, or you're just planning ahead, we're happy to take a look and walk you through what we see. Fill out the form below for a free, no-pressure estimate.