 Seattle
 New-Construction Windows for Renton Homes
Renton sits in the wetter, greener part of King County, where homes take on a steady diet of rain, humidity, and long stretches of overcast, damp weather for much of the year. When a house is being framed and sheathed, the window openings are one of the few places where a small installation error can turn into a hidden moisture problem years down the road. New-construction window installation is not the same job as replacing an old window in an existing wall, and treating it that way is one of the most common mistakes we see on jobsites around the area.
This page covers what new-construction window installation actually involves, what Renton's climate demands from the work, and how we approach the job when we're brought in during a build.
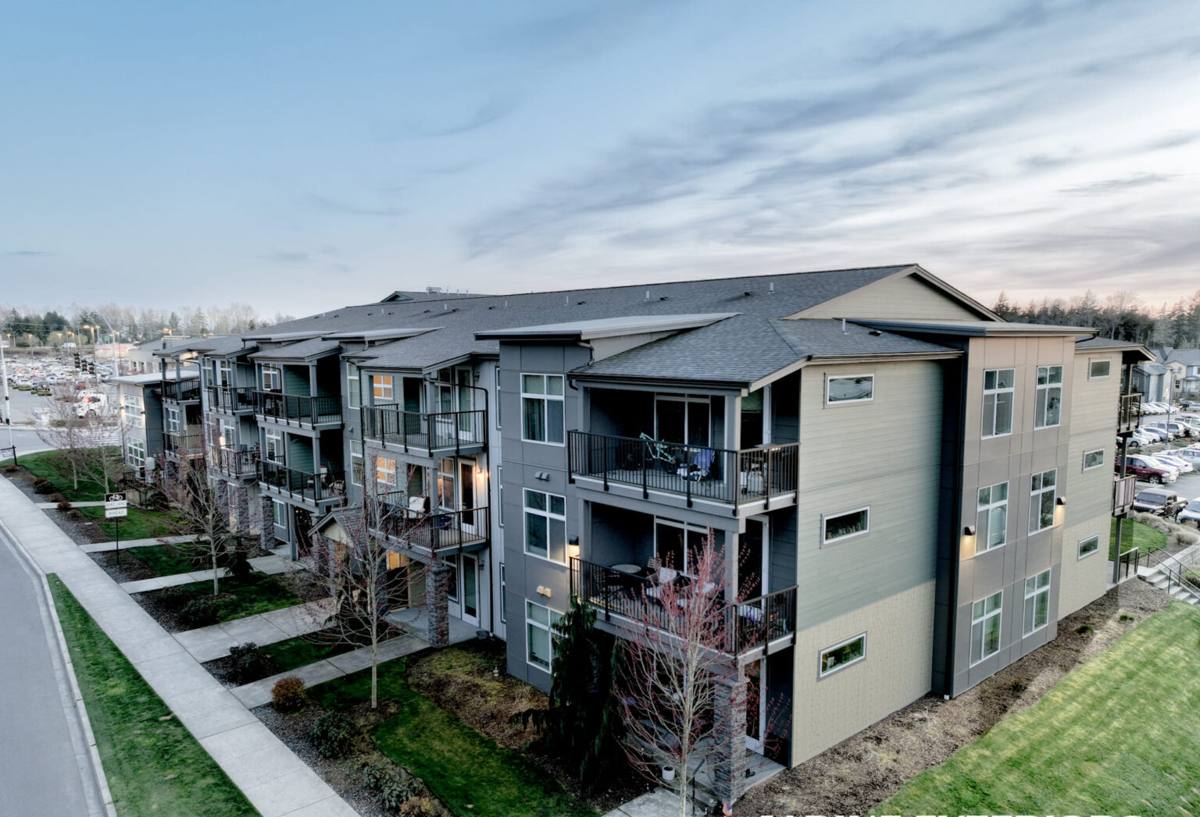
New-Construction vs. Replacement: Why the Distinction Matters
"New-construction" windows are built with a nailing flange (also called a nail fin) around the perimeter of the frame. That flange gets integrated directly into the wall's water-resistive barrier (WRB) and flashing system before siding goes on. Replacement or "pocket" windows, by contrast, are designed to slide into an existing frame with the old window removed, relying on the surrounding trim and existing flashing rather than a full flange integration.
Why This Distinction Isn't Just Terminology
On a new build, the window opening is a raw, unfinished hole in the sheathing. Everything that keeps water out of that wall — sill pan flashing, head flashing, side flashing, and the WRB itself — has to be built up in the correct order around the window as it goes in. Get the sequence wrong, and the mistake gets covered by siding and trim, often not showing up as a leak for several years. That's a very different risk profile than a replacement window job, where the wall assembly is already proven and the work is more contained.
What Renton's Climate Demands From the Install
Western Washington's climate is defined by long stretches of driving rain, wind-driven moisture, and a moss season that can stretch from fall through spring. Homes closer to Puget Sound and the Sound's connected waterways also deal with salt-laden air, which accelerates corrosion on unprotected fasteners and hardware. Renton doesn't get hit as hard by direct salt spray as homes right on the water, but the broader Puget Sound air quality and the region's near-constant humidity still affect material choices and detailing.
What That Means in Practice
- Sill pan flashing with a positive slope to the exterior — water that gets past the window has to have somewhere to go.
- Corrosion-resistant fasteners and flashing tape rated for long-term UV and moisture exposure, not general-purpose products.
- WRB laps sequenced shingle-style (upper layers over lower layers) so gravity always moves water outward, never behind the barrier.
- Enough drainage plane behind the siding that any incidental moisture can escape rather than sitting against the sheathing.
- Detailing that accounts for moss and algae growth on horizontal trim surfaces, which holds moisture longer than it should.
None of this is exotic. It's standard building science. But it only works if every layer is installed in the right order, and that's where rushed or inexperienced installs go wrong.
What a Correct Installation Actually Involves
1. Rough Opening Prep
Before a window ever goes in, we check that the rough opening is square, plumb, and sized correctly with the right amount of shim space. An opening that's out of square puts stress on the frame and can bind hardware or create gaps that are hard to seal properly.
2. Sill Pan Flashing
A sloped sill pan under the window is the single most important detail for keeping incidental water out of the wall assembly. It gives any water that makes it past the window itself a clear path back outside instead of soaking into the sill framing.
3. Window Placement and Fastening
The window is set into the opening, checked for level and square, and fastened through the nailing flange per the manufacturer's schedule. Over- or under-fastening both cause problems — too few fasteners risks movement and air infiltration, too many or misplaced fasteners can distort the frame.
4. Flashing the Flange
Side flashing goes on first, then head flashing last, always shingle-lapped so water sheds outward and downward. The WRB is then integrated over the head flashing to complete a continuous drainage path.
5. Sealing and Backer Rod
Interior and exterior sealant joints use backer rod to control sealant depth and allow for expansion and contraction — a detail that's easy to skip but affects how long the seal actually lasts through repeated wet-dry cycles.
Our Process on a Renton New Build
Because new-construction window work happens on an active jobsite, coordination matters as much as the install itself. Our process generally looks like this:
- Plan review and product selection — we look at the building plans, confirm window sizes and egress requirements, and help the homeowner or builder choose frame materials and glazing suited to the site.
- Scheduling around framing — windows go in after the structure is dried in and sheathed, but before siding starts, so timing is coordinated with the general contractor.
- Installation — following the sequence above, with flashing and WRB integration done to manufacturer specs.
- Quality check — every opening is checked for square, level, proper flashing lap, and sealed fastener penetrations before we sign off.
- Handoff documentation — we note window locations, model numbers, and warranty information so it's on record for the homeowner, not just buried in a supplier invoice.
Choosing Window Products for a Renton Build
Frame material is one of the bigger decisions on a new build, and it affects both up-front cost and how the windows hold up to years of Pacific Northwest weather.
| Frame Material | Moisture Behavior | Maintenance | Typical Cost Position |
|---|---|---|---|
| Vinyl | Won't rot; seams and welds need to be well-made to stay watertight | Low — occasional cleaning | Lower |
| Fiberglass | Very stable in wet/dry cycles, minimal expansion or contraction | Low | Mid to higher |
| Wood-clad | Good performance if cladding and seals stay intact; exposed wood is vulnerable | Higher — finish and seals need periodic attention | Higher |
| Aluminum | Durable but conducts cold and can condense in our humid winters unless thermally broken | Low | Mid |
We don't push one material as universally "best" — the right call depends on budget, the architectural style of the home, and how much long-term maintenance the homeowner wants to take on. What we do insist on is proper installation regardless of which product is chosen, since even a premium window performs poorly if the flashing behind it is wrong.
Common Mistakes We See on New-Construction Jobs
Some of these come from crews unfamiliar with the sequence, others from time pressure on a job schedule. Either way, they're the issues that tend to surface later as leaks, rot, or failed seals.
- Skipping or improperly sloping the sill pan flashing.
- Flashing installed in the wrong order (head flashing under the WRB instead of over it, for example).
- Using general-purpose caulk instead of a proper sealant system with backer rod.
- Over-fastening flanges, which can bow the frame and affect how sashes operate.
- Not accounting for shim space, leading to a frame that's out of square once fastened.
- Leaving fastener heads or flange edges unsealed where they penetrate the WRB.
Working Alongside Builders and General Contractors
A lot of new-construction window work in Renton happens as a sub-trade on someone else's build schedule. We're used to working within a GC's timeline, showing up when the structure is ready and not before, and communicating clearly if weather or framing issues push the schedule. Good coordination here matters as much as the installation itself — a window crew that shows up too early or too late can hold up siding and trim work for the whole project.
Why a Crew That Already Works Renton Makes a Difference
Renton's building department, typical lot conditions, and the pace of new construction in the area are things you learn by working here repeatedly, not by reading a manual. A crew that's already familiar with local inspection expectations and the way King County's wet climate behaves on a jobsite tends to catch problems before they're sealed behind siding, not after. That local familiarity is part of what you're paying for when you hire a contractor who already has a track record in the area, rather than a crew traveling in from outside the region for a single job.
What to Expect Timeline-Wise
Window installation on a typical single-family new build usually takes a few days to a week, depending on the number of openings and how the build is sequenced. We coordinate directly with the builder's schedule, and we'll flag early if weather (heavy rain days, in particular) is likely to push the timeline, since flashing work needs a reasonably dry window to be done properly.
If you're building or planning a build in Renton and want windows installed the right way the first time, we're happy to walk the plans with you and provide a free, no-pressure estimate — just fill out the form below.