 Seattle
 Why University District Homes Need Siding Installed a Certain Way
University District sits in one of the more heavily shaded, tree-canopied pockets of Seattle. That canopy is part of what makes the neighborhood pleasant to live in, but it's tough on exterior siding. Mature trees keep walls and north-facing elevations damp long after a storm has passed, block the drying effect of sun and wind, and drop debris into gutters and wall cavities that traps moisture against the siding itself. Combine that with King County's driving rain — storms that come in sideways off Puget Sound rather than straight down — and you get siding that's wet more often, dries more slowly, and is more exposed to wind-driven water intrusion at seams, corners, and trim joints than siding in a drier or more open part of the region.
Add in the marine, moisture-laden air that moves through the greater Seattle area for much of the year, and you have three separate stressors working on the same wall: constant dampness, driving wind-rain, and a long moss and algae season that can run from fall through spring. Siding that isn't installed with those specific conditions in mind — proper drainage plane, correct flashing, the right fastening pattern — will show it within a few years, usually as staining, soft spots, or moss creeping up from the bottom courses.
The Housing Stock Makes It More Complicated
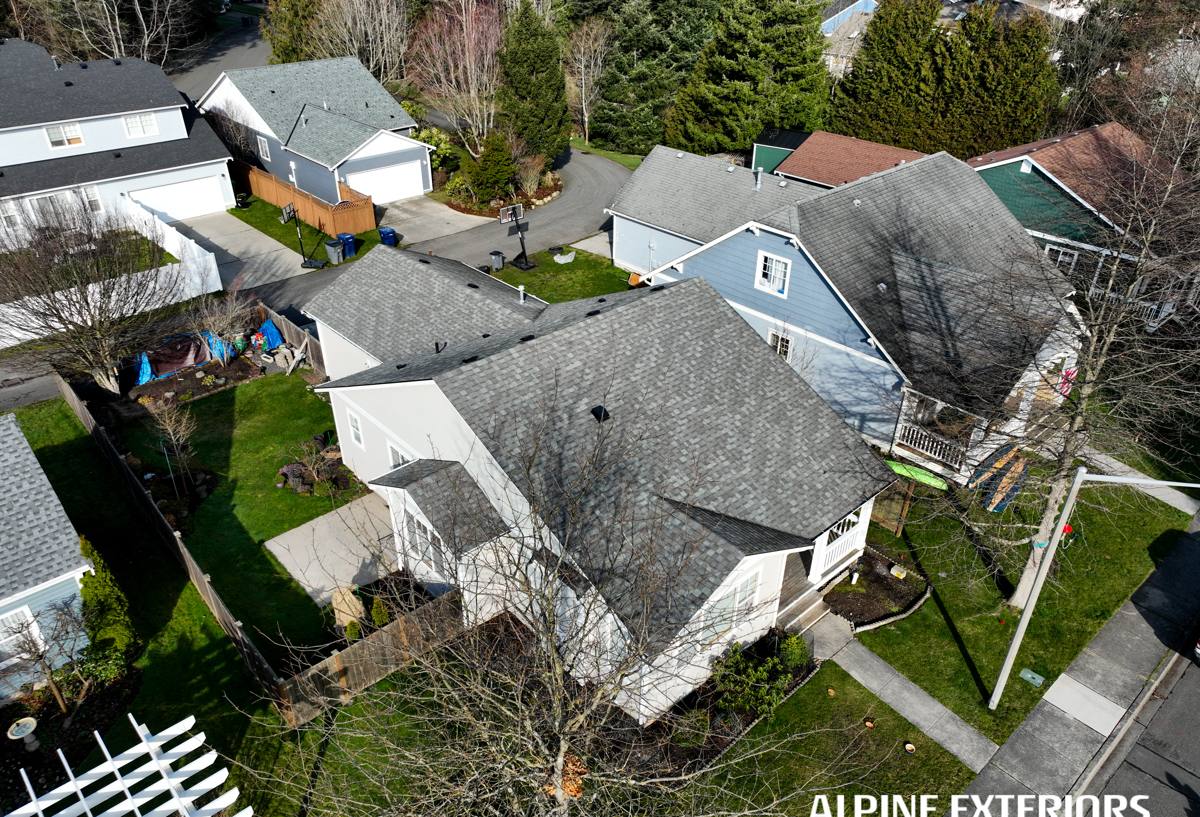
Much of University District's housing stock is older — craftsman bungalows, post-war infill, and a mix of single-family homes alongside multi-unit rentals near the university. Older homes in this neighborhood were often sided decades ago with materials and methods that predate modern water-resistive barrier standards. That means a siding replacement here isn't just a material swap — it's frequently an opportunity (and sometimes a necessity) to correct drainage and flashing details that were never right in the first place.
What "Correct" Siding Installation Actually Involves
Siding is not a cosmetic layer. It's the outermost part of a water-management system, and in a climate like Seattle's, every layer behind the visible siding matters as much as the siding itself. A correct installation includes:
- A continuous, properly lapped water-resistive barrier (WRB) installed over sound sheathing, with no gaps at seams or penetrations
- A rainscreen gap or drainage plane behind the siding so bulk water can drain and air can circulate, instead of sitting trapped against the back of the board
- Correctly flashed windows, doors, and any wall penetrations, with flashing that directs water out and away rather than behind the siding
- Proper starter strip and first-course installation so the bottom edge doesn't wick moisture from grade or hardscape
- Fastener placement and spacing that follows the manufacturer's specification, not just "close enough"
- Sealed and back-primed cut edges wherever the board is field-cut, since a factory edge and a job-site cut behave differently in moisture
Skip any one of these and the siding may look fine for a year or two before problems show up as staining, cupping, or soft sheathing underneath. In a wet, shaded neighborhood like University District, the timeline from installation mistake to visible damage tends to be shorter than in drier parts of the country.
Why We Install James Hardie Fiber Cement — and Nothing Else
We install James Hardie fiber cement siding exclusively. We don't install vinyl, LP SmartSide, Cemplank, Allura, primed spruce, or cedar. That's a deliberate standard, not a sales pitch, and it's worth explaining plainly.
Fiber cement is non-combustible, which matters more each year as wildfire smoke seasons stretch further into the Pacific Northwest calendar even though direct wildfire exposure is lower here than east of the Cascades. Beyond fire performance, Hardie's ColorPlus factory finish is baked on under controlled conditions rather than field-applied, which means better adhesion and color consistency than a coat of paint applied on-site in Seattle's damp working conditions. Hardie also engineers regional product lines — its HZ5 formulation is built for cold, wet, freeze-thaw climates like ours, rather than a one-size-fits-all board.
We've seen what happens to engineered wood and vinyl products in shaded, wet King County lots over enough winters: swelling and edge deterioration on wood-based products when moisture gets past a seam or fastener, and warping or fading on vinyl when it's exposed to long damp cycles and UV swings. Those aren't defects unique to any one brand — they're inherent trade-offs of the material category. Fiber cement doesn't absorb water the way wood-based composites can, and it doesn't soften or deform the way vinyl can. That's the entire reason we standardized on it: fewer callbacks, fewer surprises, and a product that matches what University District's climate actually demands.
How the Common Options Compare
| Factor | James Hardie Fiber Cement | Vinyl | Engineered Wood (e.g. LP SmartSide) | Cedar / Primed Spruce |
|---|---|---|---|---|
| Moisture behavior in shaded, wet lots | Does not absorb water; resists rot | Can trap moisture behind panels if installed loosely | Wood fiber core can swell if moisture reaches a cut edge or seam | Absorbs moisture; prone to rot without diligent maintenance |
| Moss and algae resistance | Factory finish resists staining; cleans up well | Can stain and is hard to fully clean without damage | Textured surface can hold moss and organic growth | Textured, porous surface holds moss readily |
| Fire performance | Non-combustible | Combustible, can melt/deform near heat | Combustible | Combustible |
| Finish durability | Factory-baked ColorPlus finish, long repaint interval | Color molded in but can fade/chalk over time | Field-applied or factory primer, repaint needed sooner | Requires regular repainting or staining |
| Typical maintenance | Occasional wash, caulk checks | Low but panels can crack/warp with age | Regular paint upkeep, seam monitoring | Frequent repainting/sealing |
Our Installation Process
Every job follows the same sequence, regardless of house size, because skipping steps is where problems start.
- Inspection and tear-off — we remove existing siding and inspect the sheathing underneath for rot, soft spots, or prior water damage, which is common on older University District homes
- Sheathing repair — any compromised sheathing is replaced before anything new goes on the wall
- Water-resistive barrier and flashing — a continuous WRB is installed and lapped correctly, with all windows, doors, and penetrations properly flashed
- Rainscreen installation — furring strips or a drainage mat create the gap that lets water drain and air circulate behind the siding
- Hardie installation — boards or panels go on per manufacturer fastening specs, with cut edges sealed and joints treated correctly
- Trim, caulking, and touch-up — trim is installed, joints are caulked, and any factory finish touch-up is applied where needed
- Final walkthrough — we walk the job with the homeowner before calling it complete
Signs a University District Home Needs New Siding
Because of the shade and moisture conditions in this neighborhood, siding problems here often show up as much on the wall as anywhere else. Watch for:
- Persistent green or black staining that returns quickly after cleaning
- Boards that feel soft, spongy, or visibly warped when pressed
- Paint that's peeling, bubbling, or failing faster than a normal repaint cycle would suggest
- Visible gaps at seams, corners, or trim where the original caulking has failed
- Moss or moisture buildup concentrated at the base of walls or under eaves with little sun exposure
- Interior signs like musty smells or discoloration on walls that share an exterior with shaded siding
Why Hiring a Crew That Already Works This Neighborhood Matters
University District has its own rhythm: narrow lots, on-street parking pressure, a mix of owner-occupied homes and rentals near the university, and older construction that doesn't always match modern assumptions about framing or sheathing. A crew that regularly works in this part of Seattle knows to plan material staging and access around tight lots, expects to find surprises behind older siding before they start, and understands how King County permitting and inspection timelines typically run for residential exterior work. That familiarity translates into fewer mid-project surprises and a more accurate estimate up front, because we're not guessing at conditions we've never encountered in this kind of housing stock.
It also means we're realistic about scheduling around Seattle's wet season. Fiber cement installation has weather windows just like any exterior work, and a crew that works this area consistently plans around King County's rain patterns rather than fighting them.
What to Expect Cost-Wise
Siding replacement cost depends on house size, the condition of the sheathing underneath, how much trim and detail work is involved, and whether tear-off reveals repairs that weren't visible at the estimate stage. We won't quote a number without seeing the house, but the biggest cost swing on older University District homes is usually hidden sheathing damage discovered during tear-off — which is exactly why our process inspects before installing rather than assuming the wall underneath is sound.
If your siding is showing wear, staining that won't clean off, or you're just planning ahead for a home in a shaded, wet part of the neighborhood, we're happy to take a look. Reach out for a free, no-pressure estimate — there's a form right below this page.