 Seattle
 Why Beacon Hill Windows Wear Differently
Beacon Hill sits on one of Seattle's higher ridgelines, which means homes here take weather from more directions than houses tucked into a sheltered valley. Wind-driven rain off Puget Sound finds its way into window assemblies that would stay dry on a calmer site, and the elevation means longer exposure to damp air during the fall and winter months. Add in King County's long moss season — moss and algae don't just grow on roofs, they colonize window sills, tracks, and any horizontal wood trim that stays wet for days at a time — and you have a climate that is genuinely tough on window systems, even good ones.
None of this means Beacon Hill homes need exotic solutions. It means the basics — flashing, drainage, sealant choice, and glass selection — have to be done correctly and matched to the specific exposure of each wall. A window that performs fine on a protected south-facing wall can fail years early on a north or west wall that catches the weather straight on.
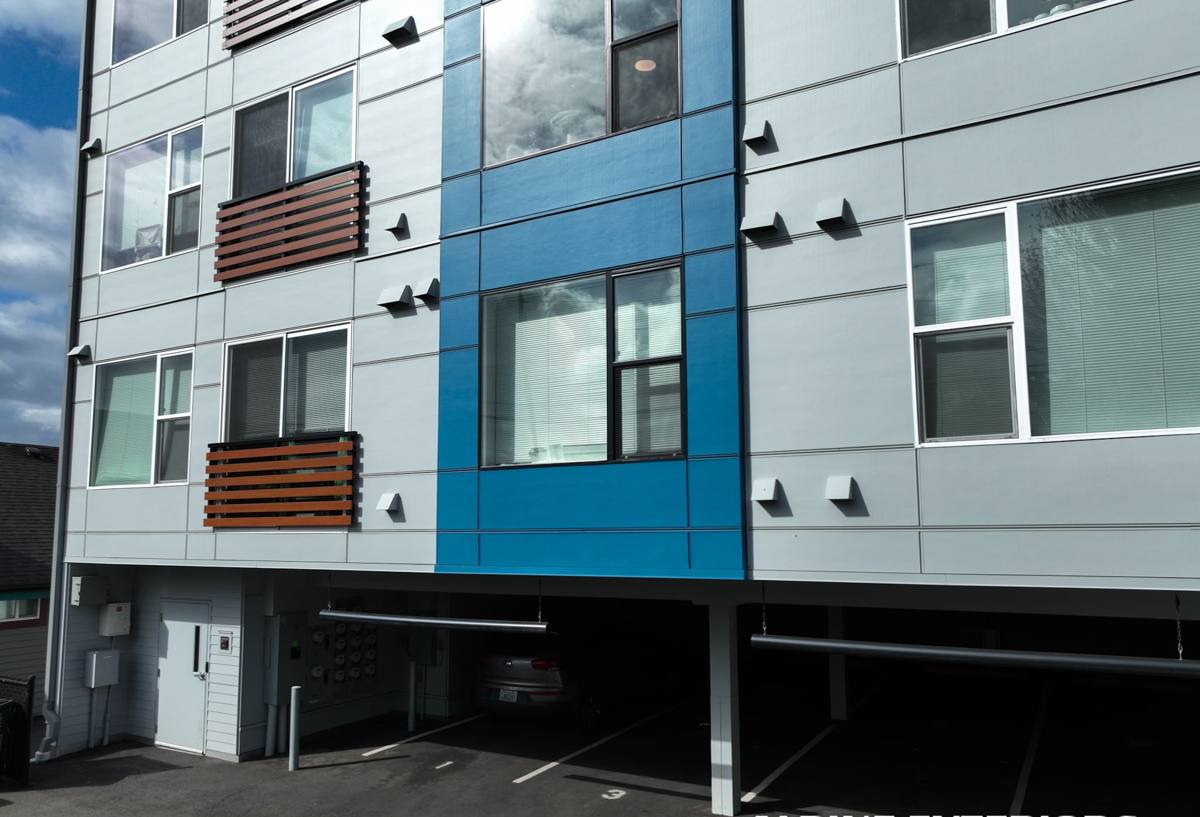
Signs a Beacon Hill Home Is Ready for Window Replacement
Many homeowners live with failing windows longer than they need to because the signs show up gradually. Here's what we look for, and what you can check yourself:
- Fogging or a permanent haze between panes — the seal on the insulated glass unit has failed and moisture is trapped inside
- Soft or discolored wood at the sill, especially on north- and west-facing windows
- Windows that are hard to open, close, or lock — frames have swollen, warped, or racked out of square
- Visible moss, algae, or black staining building up in the tracks or on the sill that keeps coming back after cleaning
- A noticeable draft or cold spot near the window on windy days
- Condensation forming on the inside of the glass regularly, not just on the coldest mornings
- Rising heating bills with no other explanation, in a home where the windows are original or older
One or two of these on their own might just mean a repair or re-caulking. Several together, especially on older single-pane or early dual-pane windows, usually mean it's time to talk about replacement rather than patching.
What a Correct Window Replacement Job Involves
Removal and Opening Inspection
Pulling the old window is when we find out what's really going on behind the trim. Water intrusion around Beacon Hill windows often shows up as soft sheathing or rot at the bottom corners of the rough opening, even when the interior trim looks fine. This is the point where a rushed installer either misses the damage or covers it up — and it's the point where a careful one stops, documents it, and fixes it before anything new goes in.
Flashing and Moisture Management
This is the step that determines whether a window lasts 25 years or leaks within five. Proper flashing directs any water that gets past the exterior cladding back out, not into the wall cavity. Given the driving rain this area sees, we pay particular attention to head flashing and to how the flashing integrates with the existing weather-resistive barrier — a window that's air-sealed but not properly flashed is a slow leak waiting to happen.
Setting, Shimming, and Insulating
The new window has to sit square, plumb, and level in the opening, shimmed correctly so the frame doesn't bind or sag over time. The gap around the frame gets insulated — not packed solid, which can bow the frame, and not left empty, which creates a cold, drafty gap.
Sealing and Interior Finish
Exterior sealant, interior air sealing, and trim work finish the job. We use sealants rated for sustained wet exposure rather than whatever is cheapest, since this is one of the lowest-cost parts of the job and one of the most consequential if it fails.
Choosing the Right Window for Beacon Hill's Exposure
There's no single "best" window material — the right choice depends on the wall's exposure, the home's style, and your maintenance preferences. Here's how the common options actually compare for this climate:
| Material | Moisture Performance | Maintenance | Notes for This Area |
|---|---|---|---|
| Vinyl | Good — won't rot, handles wet exposure well | Low — occasional cleaning | Strong value option; good on exposed walls where wood would take a beating |
| Fiberglass | Excellent — very stable, minimal expansion/contraction | Low | Holds paint well if you want a custom color; higher upfront cost |
| Wood | Depends entirely on maintenance and detailing | High — needs regular painting or staining | We're selective about where we recommend it here, since neglected wood on a damp, moss-prone wall fails faster than the material deserves |
| Wood-clad (wood interior, aluminum or vinyl exterior) | Good — exterior shell protects the wood | Moderate | Popular middle ground for homeowners who want a wood interior look with less exterior upkeep |
Whichever material you choose, we'd rather steer you toward a window and glass package that fits the specific wall it's going on than sell you the same spec for every opening. A window facing the weather head-on deserves a different level of moisture protection than one tucked under an eave.
Our Window Replacement Process
1. On-Site Assessment
We walk the home, look at each window from inside and out, and note exposure differences from one wall to the next. This is also when we flag anything that looks like it may need repair beyond the window itself — rot, siding damage, or drainage issues.
2. Straightforward Estimate
You get a clear breakdown of what's being replaced, the materials involved, and why — not a vague lump sum.
3. Scheduling Around Weather
Window openings are exposed to the elements for a short window during installation. We plan around forecasted rain where we can and protect open walls if weather shifts mid-job.
4. Installation
Removal, inspection, flashing, setting, insulating, and sealing — done in that order, with no shortcuts on the flashing step regardless of time pressure.
5. Walkthrough
We check operation on every window, confirm the exterior finish work is clean, and answer any questions about care before we consider the job done.
What Window Replacement Typically Involves Cost-Wise
Every home is different, and the honest answer is that cost depends on the number of windows, sizes, materials, and how much extra work the opening needs once it's exposed. Broadly, homeowners should expect the price of a project to move based on these factors:
| Factor | Why It Affects Cost |
|---|---|
| Window material (vinyl, fiberglass, wood, wood-clad) | Material and manufacturing cost vary significantly |
| Number and size of openings | Larger and more numerous windows mean more material and labor |
| Condition of the rough opening | Rot or water damage found during removal adds repair work before the new window goes in |
| Glass package | Upgraded glass for noise, energy performance, or UV protection costs more than standard dual-pane |
| Trim and finish work | Matching existing interior or exterior trim can add labor, especially on older homes |
| Access and site conditions | Second-story or hard-to-access windows take more time and equipment |
We'd rather walk your specific home and give you real numbers than quote a range that doesn't mean much until we've seen the openings.
Why Local Experience on Beacon Hill Matters
A crew that works this neighborhood regularly already knows what to expect when they open up a wall — which wall orientations tend to have moisture issues, how older Beacon Hill housing stock was typically built, and what flashing details hold up against the wind and rain patterns specific to an elevated Seattle site. That's different from experience gained on flat, sheltered lots elsewhere in King County. It shows up in fewer surprises during the job and fewer callbacks after it.
It also matters for something less technical: knowing how to work respectfully on a residential street, protect landscaping, and keep a jobsite clean in a neighborhood where houses sit close together.
Caring for New Windows in a Wet Climate
New windows are lower-maintenance than old ones, but they aren't maintenance-free here. A few habits go a long way:
- Rinse tracks and sills periodically to keep moss and algae from establishing, especially on shaded or north-facing windows
- Check exterior caulking annually, particularly after a hard winter, and touch up any cracked or separated sealant
- Keep gutters and downspouts clear so runoff isn't sheeting directly across upper windows
- Trim back vegetation that keeps a window's exterior shaded and damp for long stretches
- Operate windows through their full range a few times a season so hardware doesn't seize up from disuse
Windows installed correctly, with the right flashing and sealing details for the exposure, need far less intervention than older units — but a five-minute check twice a year catches small issues before they become expensive ones.
If your windows are showing any of the signs above, or you're just weighing your options for an upcoming project, we're glad to take a look and give you an honest, no-pressure estimate — use the form below to get started.