 Seattle
 New-Construction Windows Built for Redmond's Climate
Redmond sits in the wetter, greener half of King County, and that means every window opening on a new build has to do more than look good — it has to hold up to months of steady rain, occasional wind-driven storms off Puget Sound, and a growing season for moss and algae that never really stops. When we install new-construction windows here, we're not just setting glass in a rough opening. We're building the first line of defense against water intrusion for a house that will spend most of the year damp.
New construction is different from replacement work in one important way: you get to do it right the first time, with full access to the wall assembly, the house wrap, and the rough framing. That access disappears once siding goes up. Get the flashing sequence and fin attachment wrong at this stage, and you've built a hidden moisture problem into the house for the next twenty years.
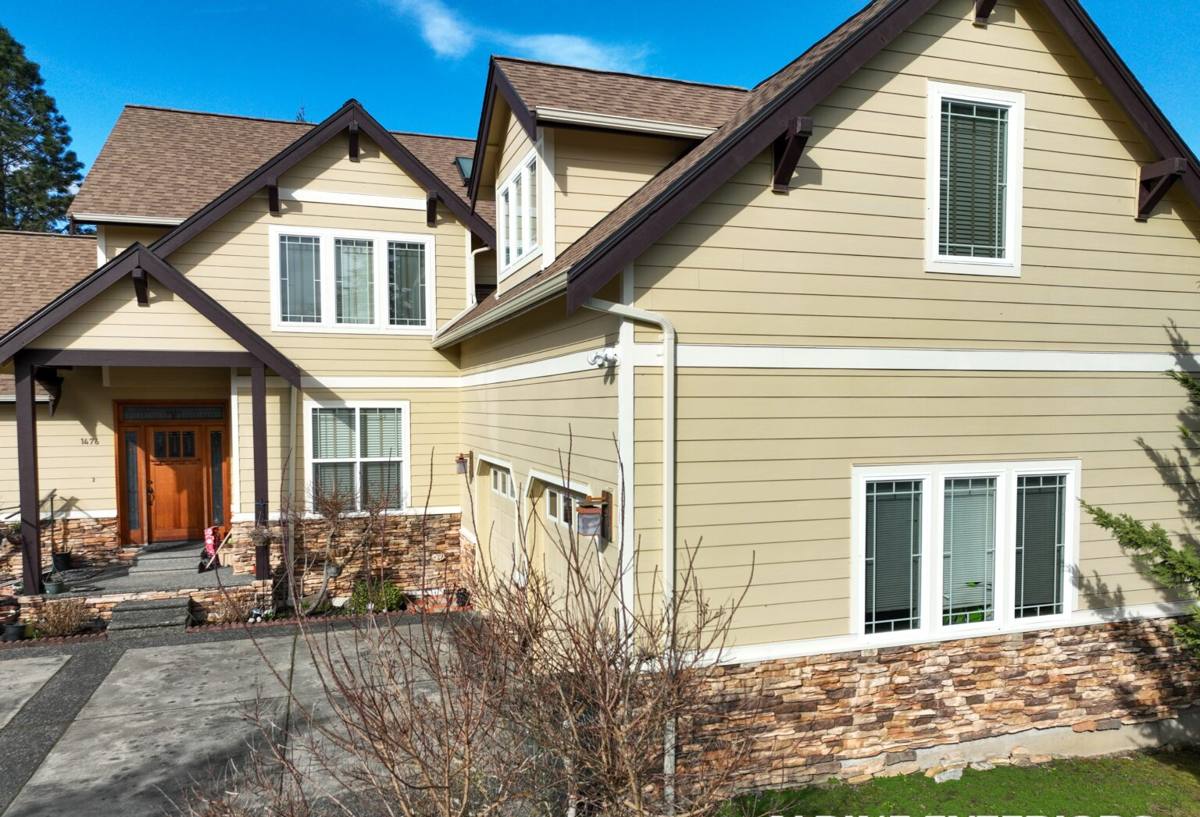
New Construction vs. Replacement — Why It's a Different Job
A lot of homeowners assume "new construction window" just means a brand-new window, but it's actually a specific installation method tied to the type of frame.
Nail-Fin Windows
These have a flange around the perimeter that gets fastened directly to the sheathing before the weather-resistive barrier and siding go on. This is the standard approach for new builds and additions in our area because it creates a continuous, lapped drainage path — water sheds down and over the fin, never behind it, as long as the flashing sequence is followed correctly.
Block-Frame (Pocket) Windows
These sit inside a finished opening without a nailing flange and are typically reserved for replacement work where the exterior wall is already finished. Using a block-frame window in new construction, or a nail-fin window in a retrofit without proper adaptation, is a common source of leaks we get called out to fix later. On a new build, we always spec and install nail-fin units unless the architectural detail specifically calls for something else.
What Redmond Homes Actually Need From Their Windows
Three regional realities shape how we approach every new-construction window job in this area:
- Driving rain: Storms here often come with sideways wind, which pushes water into gaps that would stay dry in a calmer climate. Flashing laps and sealant placement matter more than in drier regions.
- Long moss and algae season: Shaded north and west elevations stay damp for months, which accelerates wood rot at sills and trim if the drainage plane isn't continuous.
- Salt-influenced air moving through the region: Areas closer to Puget Sound deal with airborne salt that can accelerate corrosion on lower-grade hardware and fasteners; even inland communities like Redmond benefit from corrosion-resistant components rather than the cheapest available option.
None of these are dramatic on their own, but stacked together over a Pacific Northwest winter, they punish any shortcut in the installation sequence. That's why we treat flashing and drainage as the real product being installed — the window itself is only half the job.
Our Installation Process
On new construction, sequence is everything. Here's the order we follow on every opening:
- Verify the rough opening is square, level, and sized correctly before the window ever arrives on site.
- Install a sloped sill pan flashing so any water that gets past the window has a built-in path back outside, rather than pooling on the framing.
- Apply the weather-resistive barrier and integrate it with the sill pan using a correct shingle-lap sequence — this is the step most commonly rushed on production builds.
- Set the window plumb, level, and square in the opening, checking reveal and operation before fastening.
- Fasten the nailing fin per manufacturer spacing, then flash the jambs and head in the correct overlapping order (sides before head, head lapping over the sides).
- Seal per the manufacturer's installation instructions — not universally, since over-sealing a nail-fin window can actually trap water instead of shedding it.
- Insulate the gap between the frame and rough opening with a low-expansion, window-rated foam or backer rod, avoiding standard high-expansion foam that can bow the frame.
- Photograph and log the flashing details before siding or trim covers them, so there's a record if a question ever comes up later.
Choosing the Right Frame Material
Redmond's mix of new subdivisions and custom infill builds means we install a range of frame materials. Each has real trade-offs worth knowing before you commit.
| Frame Material | Moisture Performance | Maintenance | Typical Use Case |
|---|---|---|---|
| Vinyl | Good; won't rot, but expands/contracts with temperature swings | Low | Most standard new-construction builds |
| Fiberglass | Excellent; very stable in wet, temperature-variable climates | Low | Higher-end builds, larger openings |
| Wood-Clad | Good exterior protection, but any cladding breach exposes wood core to rot | Higher — cladding seams need periodic inspection | Custom homes prioritizing interior wood aesthetics |
| Aluminum | Poor thermal performance, prone to condensation in our humidity | Low | Rarely specified residentially here; more common commercially |
For most Redmond new-construction projects, we steer clients toward vinyl or fiberglass because both handle sustained moisture exposure without the maintenance burden of monitoring cladding seams on a wood-clad unit. That's a professional judgment based on long-term drainage behavior in this climate, not a knock on any specific manufacturer.
Glass Packages Worth Considering
Glass choice matters as much as frame choice in a marine climate:
- Double-pane, low-E: The baseline for new construction here — good energy performance and standard on nearly every code-compliant build.
- Triple-pane: Worth considering on north- and west-facing rooms, or homes near busier roads, for both thermal and sound performance. It adds cost and weight, which changes hardware requirements on larger units.
- Argon or krypton gas fill: A low-cost upgrade over air-filled units that improves insulation value with no visible difference.
- Tempered or laminated glass: Required by code near doors, stairs, and low sills — worth confirming during design so it's not an afterthought during the permit review.
Cost Factors on a New-Construction Window Package
| Factor | Why It Moves the Price |
|---|---|
| Number and size of openings | Larger units and multi-window bays require reinforced framing and more flashing detail |
| Frame material | Fiberglass and wood-clad typically cost more than standard vinyl |
| Glass package | Triple-pane and specialty coatings add per-unit cost |
| Access and story height | Second-story and vaulted openings require additional staging or lift equipment |
| Flashing complexity | Custom trim details, deep window returns, or unusual siding transitions add labor time |
We give homeowners a broad range up front based on rough opening count and style, then firm it up once the plan set and window schedule are finalized — no surprise change orders for work we could have flagged at the estimate stage.
Why a Crew That Already Works Redmond Matters
Building departments, inspectors, and even subdivision HOA design standards vary by jurisdiction across King County. A crew that regularly works in Redmond already knows the inspection expectations for flashing documentation, understands how local builders typically sequence window installation against siding trades, and has a feel for how exposed a given lot is based on tree cover and elevation. That familiarity shows up in fewer callbacks, not in anything flashy — it's the boring, load-bearing kind of local knowledge that prevents rework.
It also means we're not learning the region's rain patterns on your job. We've seen how driving rain behaves against west-facing walls in this area, and we flash accordingly rather than by generic national spec sheets alone.
What to Check Before You Hire Anyone for This Work
- Ask specifically whether they install sill pan flashing on every opening, not just "as needed."
- Confirm they follow the window manufacturer's written installation instructions — this affects warranty validity.
- Ask how they document flashing details before siding covers them.
- Get clarity on whether nail-fin or block-frame windows are being specified, and why, for your specific build type.
- Check that low-expansion, window-rated foam is used around the frame, not standard high-expansion spray foam.
- Ask how they handle glass code requirements (tempered/laminated) near stairs, doors, and low sills.
If a contractor can't answer these plainly, that's worth noting before signing anything.
Ready to Talk Through Your Windows?
Every new-construction project has its own mix of elevations, exposure, and design goals. If you're planning or framing a home in Redmond and want a straightforward look at window options, flashing details, and realistic costs, we're happy to walk the plans with you. Use the form below to request a free, no-pressure estimate — no obligation, just a clear picture of what correct looks like for your build.